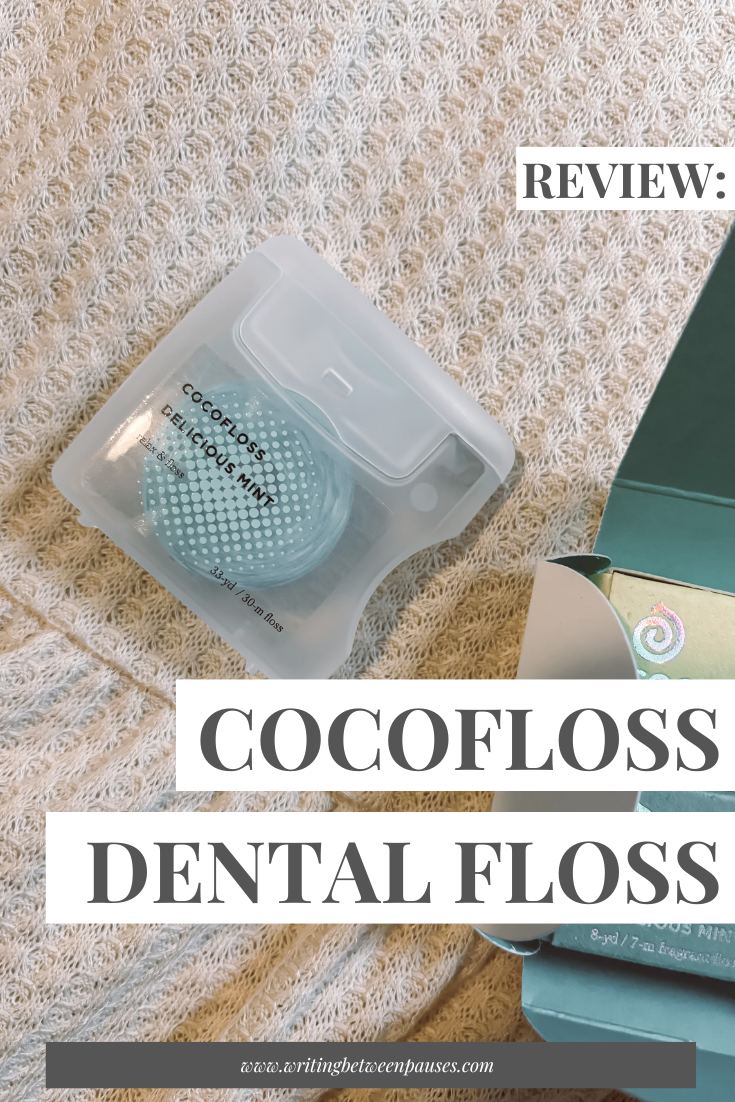
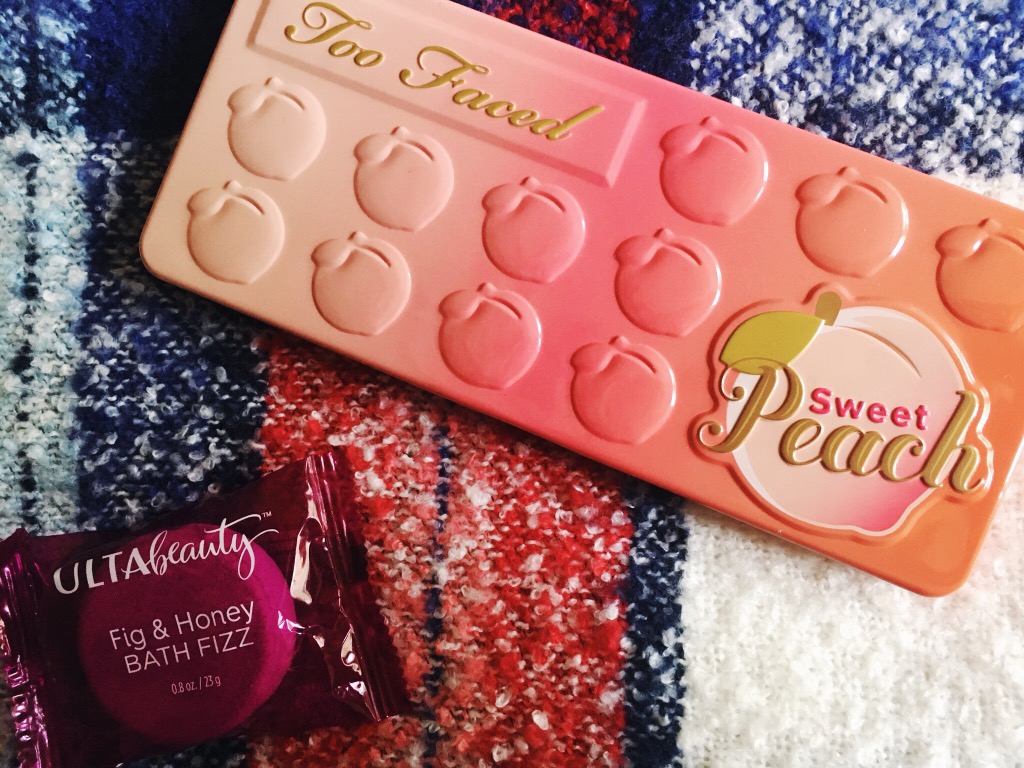
One of the most difficult parts of blogging, for me, has always been the photography. I really enjoy photography, but it's not something I'm inherently good at--and I've never really been patient enough to really settle down and learn much beyond just getting it done.
I don't think blog photos need to all look the same. Trust me on that one: you can be successful with photos taken on your iPhone. As I've written before, I have a tried-and-true process for iPhone photos. (You can also read my post on improving flat lay photos here.)
Another thing I've always been unwilling to do is pour a ton of money into taking blog photos. If I already bought the product I'm taking a photo of, then why on earth would I spend more money to take a photo with it? I've never bought a better lens for my camera (despite really, really wanting one) because I just don't foresee it paying off in the long run; for the same reason, I just don't believe in buying a ton of materials to make my blog photos pop.
Here's what I have bought to help improve my blog photos.
1. Printed poster board ($1.99 at craft stores or $20+ for a pack)
The biggest change to my photography game has been buying a printed poster board. I got mine for $2 from Michael's; it's a rustic, white, barn wood background. It has really made my photos look a lot prettier and more cohesive! Plus, it's easier for me to organize items on a smaller space. These are just like the one I have, but for a pack of 12! However, if you check your local craft stores, there are tons of designs, depending on what you want for your photos. There is a really pretty pink floral one at my local Michael's that I'm definitely considering.
2. Create a "stage" (<$30)
Many times, photos are staged on a platform. Many people use their desk that they clean up for this. However, I realized I needed a bit more space and freedom (and also my desk is a constant mess of bills and notebooks). I tore down a diaper box to be the bottom, plus 2 sides; I just recently bought some cheap sheets of tile, like you put on a backsplash, and have been working on a way to fix them onto the box. Then, I'll paste a plain white foam board to the bottom and voila! I've made my own little stage that can mimic a bathroom sink, or a kitchen counter, or anything really. This is still a work in process, but so far, it's only cost me $20 for the three sheets of stick on tile and foam board.
3. Camera Tripod (<$20)
My greatest issue taking photos with my DLSR (which I've started to do more, even though I love the ease of just using my iPhone) is that I have quite shaky hands. If I'm taking photos in low light, then I've adjusted the settings on my camera enough that even the slightest shakiness will end up with blurry photos. I've just put in an order for a new tripod; I picked this one, which comes with a remote. However, you can find tripods for as cheap as $10-15, depending on where you look. As long as it attaches to your camera, or has a way of holding your cell phone, it doesn't need to be expensive!


