Beauty

Beauty Review: Locallure Lipsticks*

A few weeks ago, the brand Focallure reached out to me to review some of their products. It’s been a hot minute since I accepted products for review, but recently I’ve been trying to find passion for my hobbies again (there may or may not be a blog post or newsletter coming about this…) and it seemed like perfect opportunity.

Focallure is a brand primarily sold on Amazon—if you’ve ever started browsing for a lip product, you’ve probably run into them. They sent me 4 products in total: two of their metallic liquid lipsticks and two of their moisturizing lip balms. I’ll review the liquid lipsticks first, then the lip balms. Let’s dive in!

Focallure Metallic Liquid Lipsticks

I received the shades Painkiller and Dying Star. Painkiller is a metallic, super dark red. Dying Star is a pale, glittery pink—it has a lot of glitter.

When I first received this shade, Painkiller, I swatched it on Danny’s hand. When I tell you that swatch withstood nearly an entire day and I finally had to scrub it off of him with my Junoco Cleansing Balm, I’m being serious. This liquid lip has lasting power. And even better, it’s not actually as drying as I remember a lot of matte, superstay formulas to be. It’s not a day color for sure—but if you’re looking for a Halloween lip for a specific costume (or you’re maybe just more daring than me), this is a great option. It will withstand a lot of things.

The shade Dying Star is not nearly as dark as Painkiller and while it required some cleansing balm to remove after swatching, it doesn’t feel as nearly longlasting as Painkiller. It’s also a little more day appropriate—although, it is… so glittery. I had glitter everywhere. It’s not the worst thing in the world, but it’s certainly a little inconvenient. I really like this shade and I think it would actually be a great topper for other lipsticks or with a gloss.


Focallure Lip Balms

I received 2 of Focallures’s lip balms—one is a true balm that appears to be PH color changing (the left) and one is more tinted (left). Unfortunately, I can’t find these specific shades on their storefront, but there are similar varieties.

The true balm is really pretty—I mean, it has inset glitter. The packaging is also very cool; the cap is magnetic, so it makes it a little more sturdy for a purse. I didn’t realize it was color changing at first, but as I swatched it, I noticed how pink my lips looked. It wasn’t bad, but as we all know, those PH color changing products all go the same color of pink—so if you’re not a fan of that pink, it’s probably not for you.

The other balm had a color that reminded me very much of 2016. You know those very gray-toned mauve pinks that were slightly liver-y? It’s like that. It would probably look much better on a different skin tone, but it’s not for me. The formula was very hydrating, but again, it had so much glitter that removing it became an issue and I can’t imagine reapplying would be very fun. I would pass on these more lipstick-style lip balms, but I do like the true balm variety.


Disclaimer: As denoted by the asterisk (*) in the title of this post, these products were sent to me for free in exchange for review. Posts like these help me keep the lights on here at WBP! If you’d like to learn more about my disclaimer policy, click here.

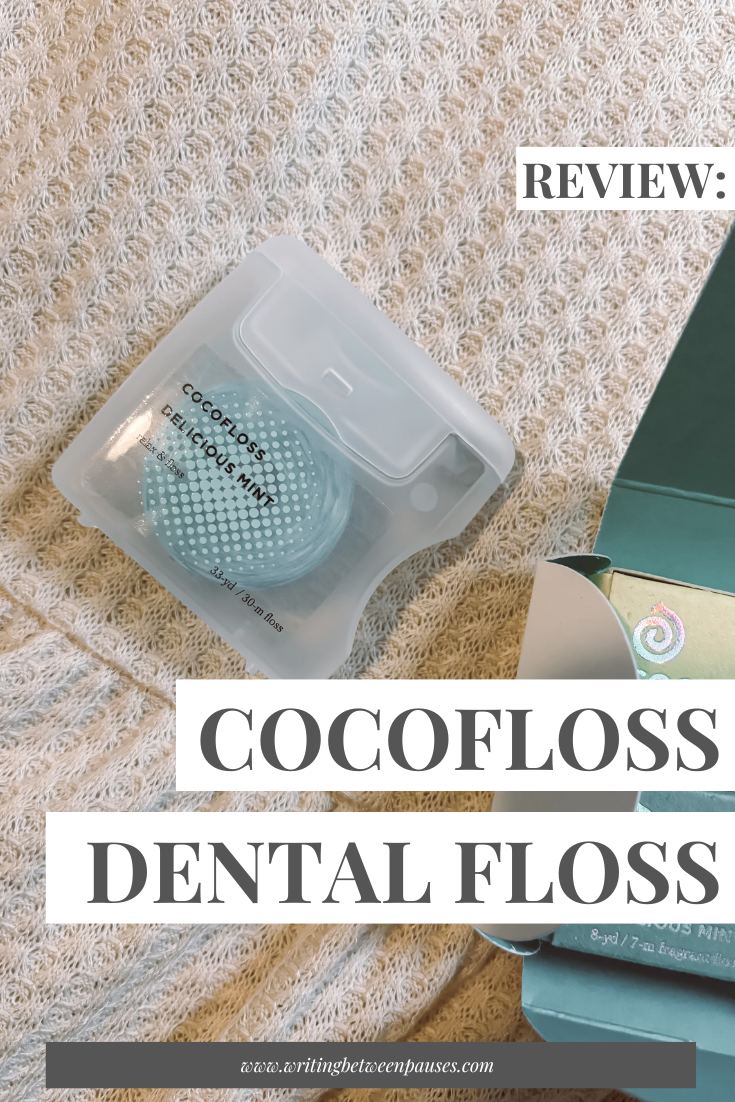
Review: Cocofloss Dental Floss

What a way to start a new blogging era, huh? Floss. Baby’s first review back on the blog grind? Floss.

But listen, I’m 35 years old now. I care about things like my dental health (and hey, we all should after all). And after 2 kids and plenty of years where I didn’t take as good of care of my teeth as I wish I had, I get excited about trying a new floss.

A few weeks ago, while scrolling Instagram, as you do, I got an ad for Cocofloss, a coconut fiber floss that is designed to make dental hygiene more fun (a cute look and yummy flavors), but also more beneficial (a fiber that helps grip bacteria between teeth). (You can learn more about the founders here.)

After a little browsing, I convinced myself to give it a try. Here’s a little context: I hate flossing. I do it every single day, but I hate it. My gums are one of my genetically terrible traits where I have to do a lot of upstream swimming to take care of them. I brush and floss twice a day and then use a special mouthwash every evening that is supposed to help my gum pockets. This is what a genetic weak spot and two pregnancies get you: when I go to get my teeth cleaned now, they call in a specialized hygienist who deals with people with gum issues. Devastating to my self esteem, frankly.

So a floss that would make my twice daily blight a little more fun is… worth a shot.

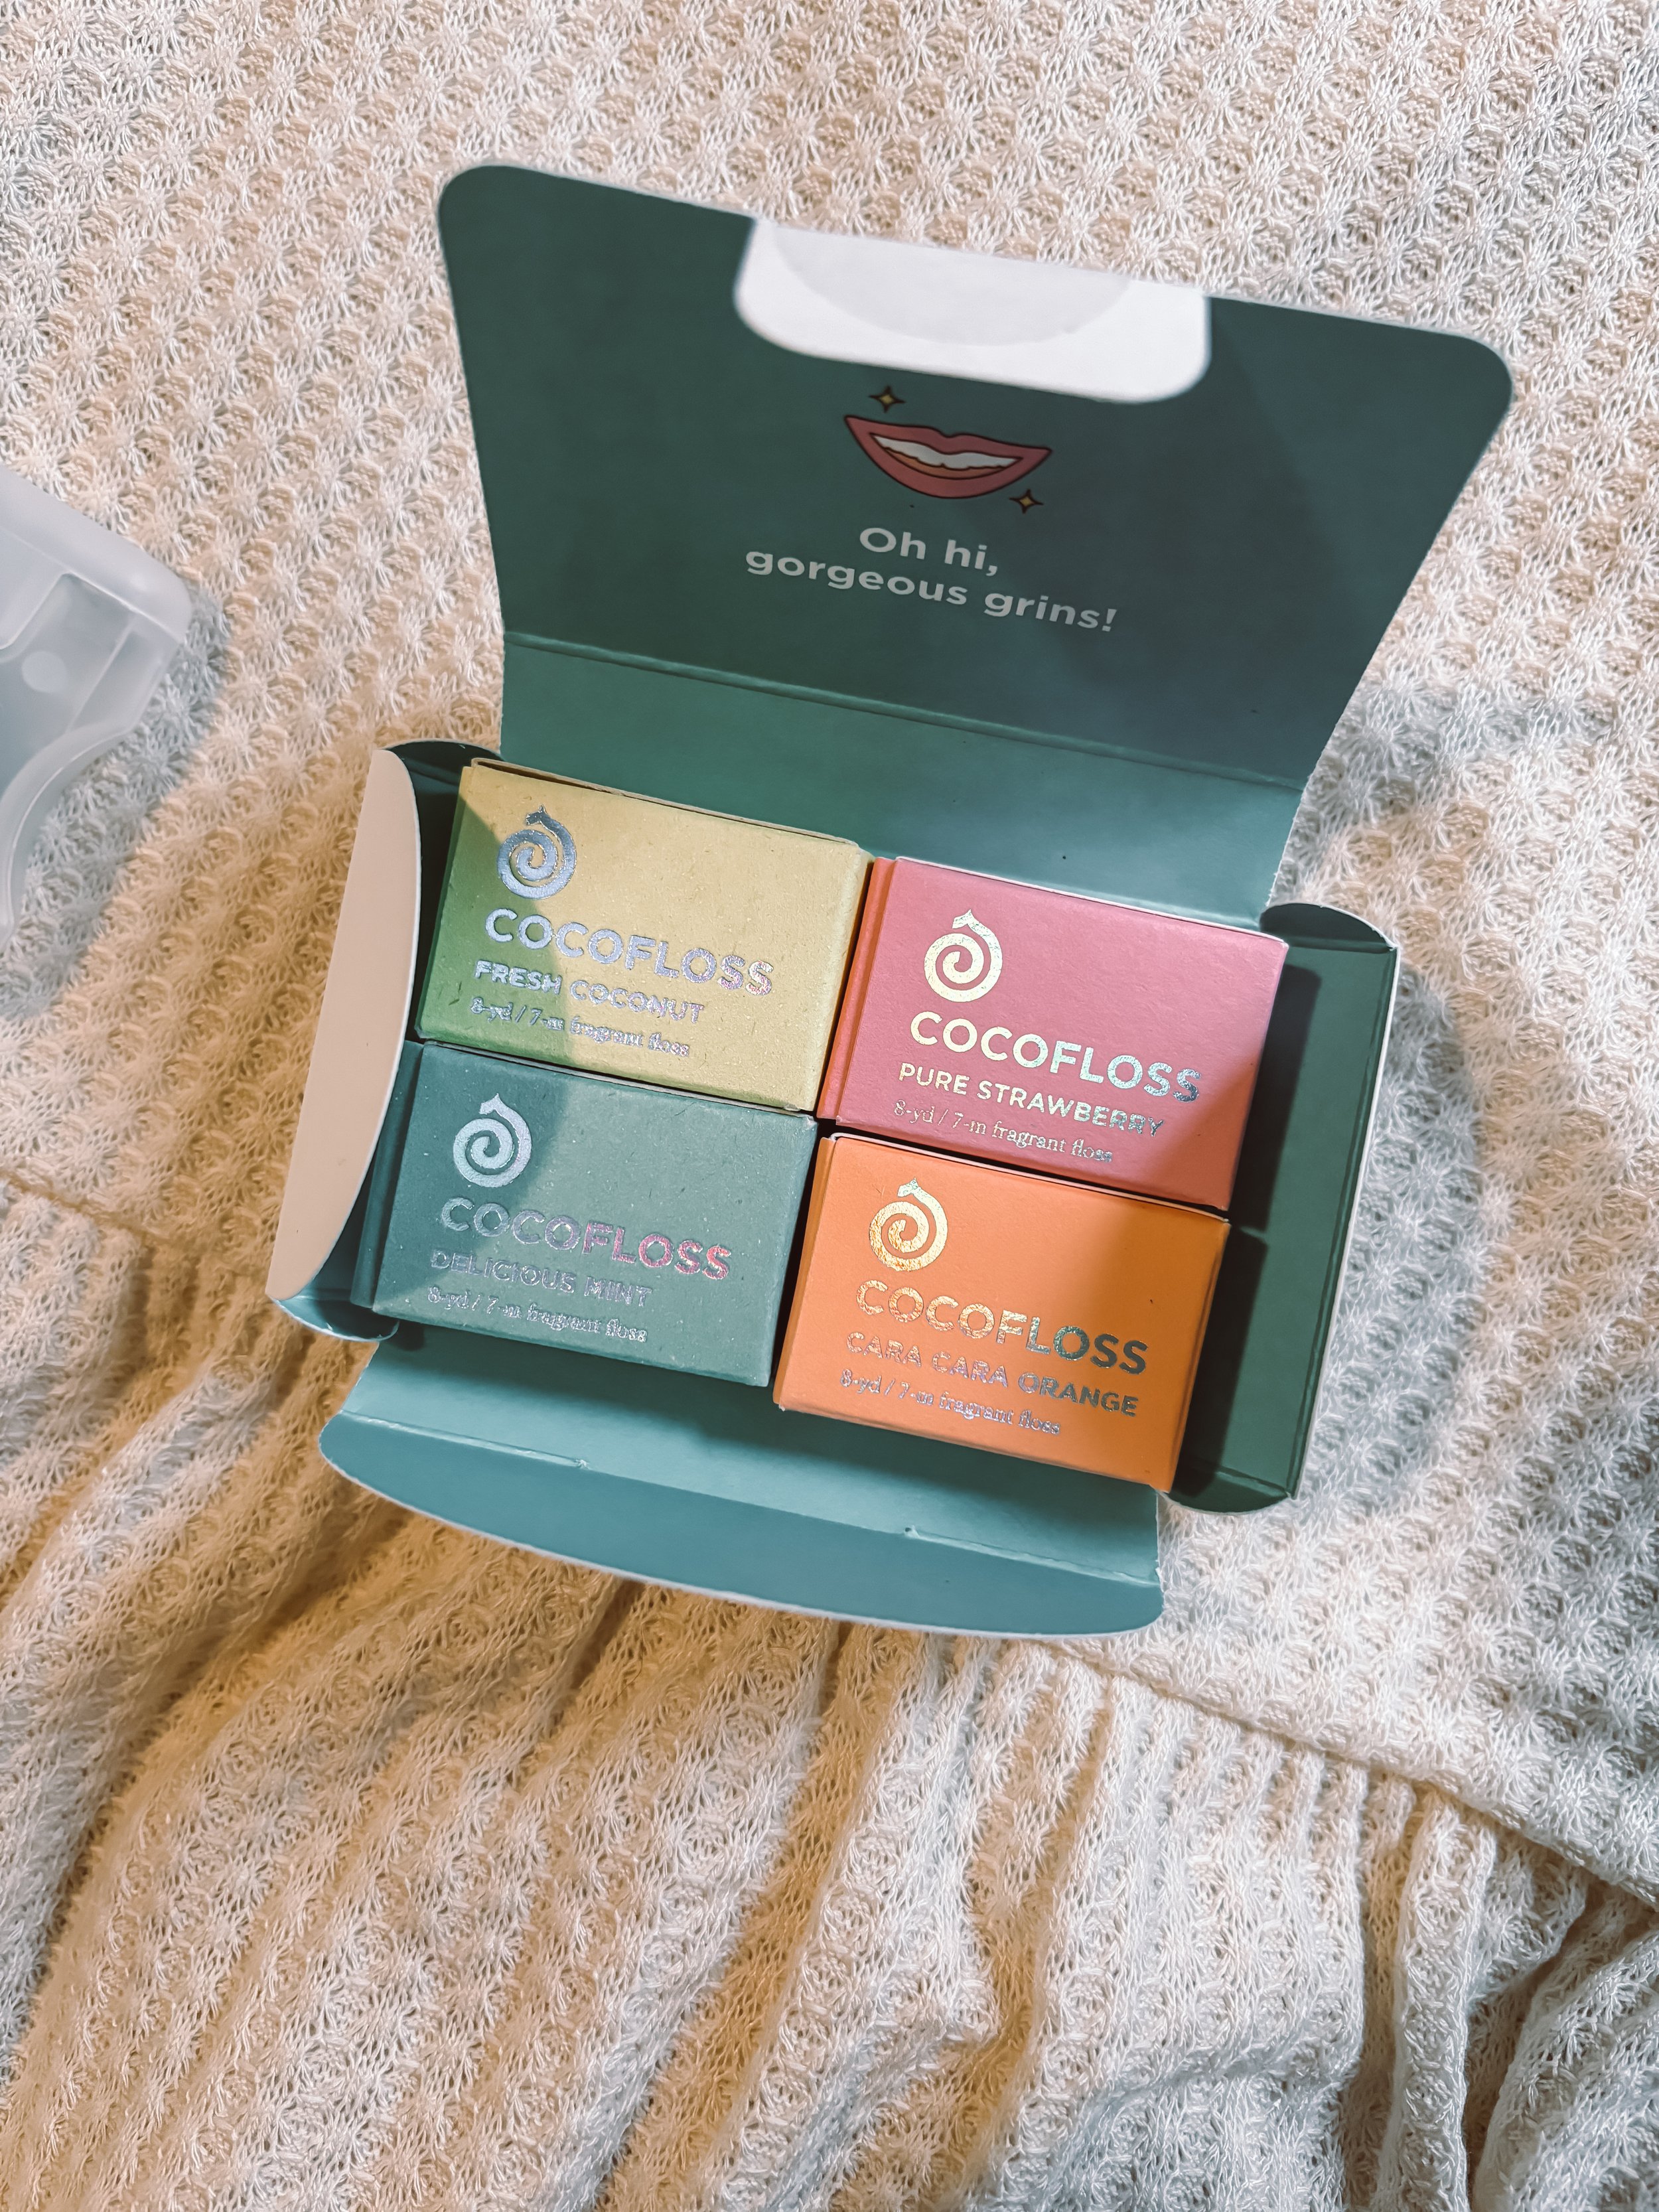
I ordered 2 products: the Happiness set and the Delicious Mint Dental Floss. The Happiness set is a set of 4 mini spools in 4 flavors: coconut, strawberry, mint, and orange. I got these primarily to 1) try a few flavors and 2) have some cute travel flosses. They are extremely adorable.

I ordered the larger Delicious Mint dental floss to have as my daily use floss.

The Happiness set was on sale for $15 when I ordered it; regularly, it’s $36. $36 is… quite a lot for 4 small spools of floss. $15 is definitely a much better deal. The single spool of Delicious Mint, which is roughly a 2 month supply, was $10 (and is still $10). That is a lot for floss, but it’s 2 months worth—so realistically $5 a month. As it is, I probably spend $5 a month on flossers.

I spent $25 total and shipping was free.

As I was writing this, I realized that there is a confetti cake flavor of floss. That’s incredible. They have a ton of flavors, so definitely do some poking around if you decide to order.

So, what do I think of the floss?

Floss is, at the end of the day, floss. But I do feel like I was able to get between my teeth better with Cocofloss than with traditional floss. My teeth are very close together (even my hygienist gets floss stuck between them frequently) which means I have to do a lot of extra work to get the bacteria that can linger at the gumline. I felt like Cocofloss got more gunk out with less effort. The floss itself feels coated and more fibrous than traditional dental floss, but it still glides between teeth pretty well. I felt like it allowed my special mouthwash to get closer to the gum line.

All in all, I liked the floss. It’s cute and it definitely has a strong, fun flavor. The mint has been my favorite so far, but Forrest, my 8-year-old, really loves the strawberry flavor. And if it gets my kid to floss more, I’ll pay $1 million even.

Would I recommend this floss? I think it really depends on your needs. Will I repurchase? Most likely, but I have pretty specialized dental hygiene needs. If you don’t, you can probably get by with your standard dental floss.

Beauty Review: Color&Co At Home Hair Dye Kit*

Color&Co Hair Dye Kit Review | Writing Between Pauses

As most people have in the last year, I’ve really leaned into coloring my own hair at home. I don’t do anything that wild with my hair—I just try to dye it my natural color to cover up my (fairly significant for my age, or at least that’s what people tell me) grays. For years, I’ve used eSalon; I’ve written 2 reviews about eSalon on this very blog. While eSalon always worked in a pinch, in the last year, I’ve gotten really bored with my hair color—it never felt quite right for what I was asking for and the process to have them change the color was really complicated and felt impersonal.

Enter Color&Co, a custom hair color delivery service by L’Oreal. They emailed me a few weeks ago about trying out a colorbox designed specifically for me. Who can turn that down? I jumped at the chance because, as a primarily at-home hair colorist, I am always willing to try something different to see if it really works. In this blog post, I’ll walk you through the entire process—from sign up to coloring my hair.

The Process

When you sign up for a Color&Co colorbox, you have the option to take a quiz about your hair or have a free consultation with one of their specialists. If you’re like me and think your hair color is pretty straight forward, I encourage you to do the consultation—primarily because in my consultation, my consultant, Deb, asked some questions I had never thought of before. Once you select consultation, you’ll schedule a time with one of the consultants. Then, you just wait for that appointment time!

During your consultation, you’ll talk about your hair, of course: your goals for it, if you’ve dyed it in the past or recently, what you usually choose for hair dye. You’ll also talk about the specific tone of your hair you want, how much gray you have, and more. One of the best parts of this process for me was talking about my gray hair; I guess it didn’t occur to me previously, but I have “stubborn gray hair” that resists coloring. With previous hair dyes, my gray has started to show within 2-3 weeks. Deb gave me some extra steps to do why coloring my hair to help color those grays.

Once your consultation is done, you’ll go to an order screen where you purchase your colorbox; once it is formulated by your consultant, it’s shipped out to you. Super easy and highly personalized!

Receiving Your Box

Get exciting—your colorbox has arrived! In my consultation, we talked about how the ends of my hair have been bleached. In February 2020, I got probably the most ill-timed balayage done, which meant I’ve been coloring over blonde ends that aren’t particularly happy about the situation. So my kit was a little more complicated than the standard: I received a permanent color for my roots to cover my stubborn grays and then a semi-permanent color for my ends.

FIf_wkHg.jpeg

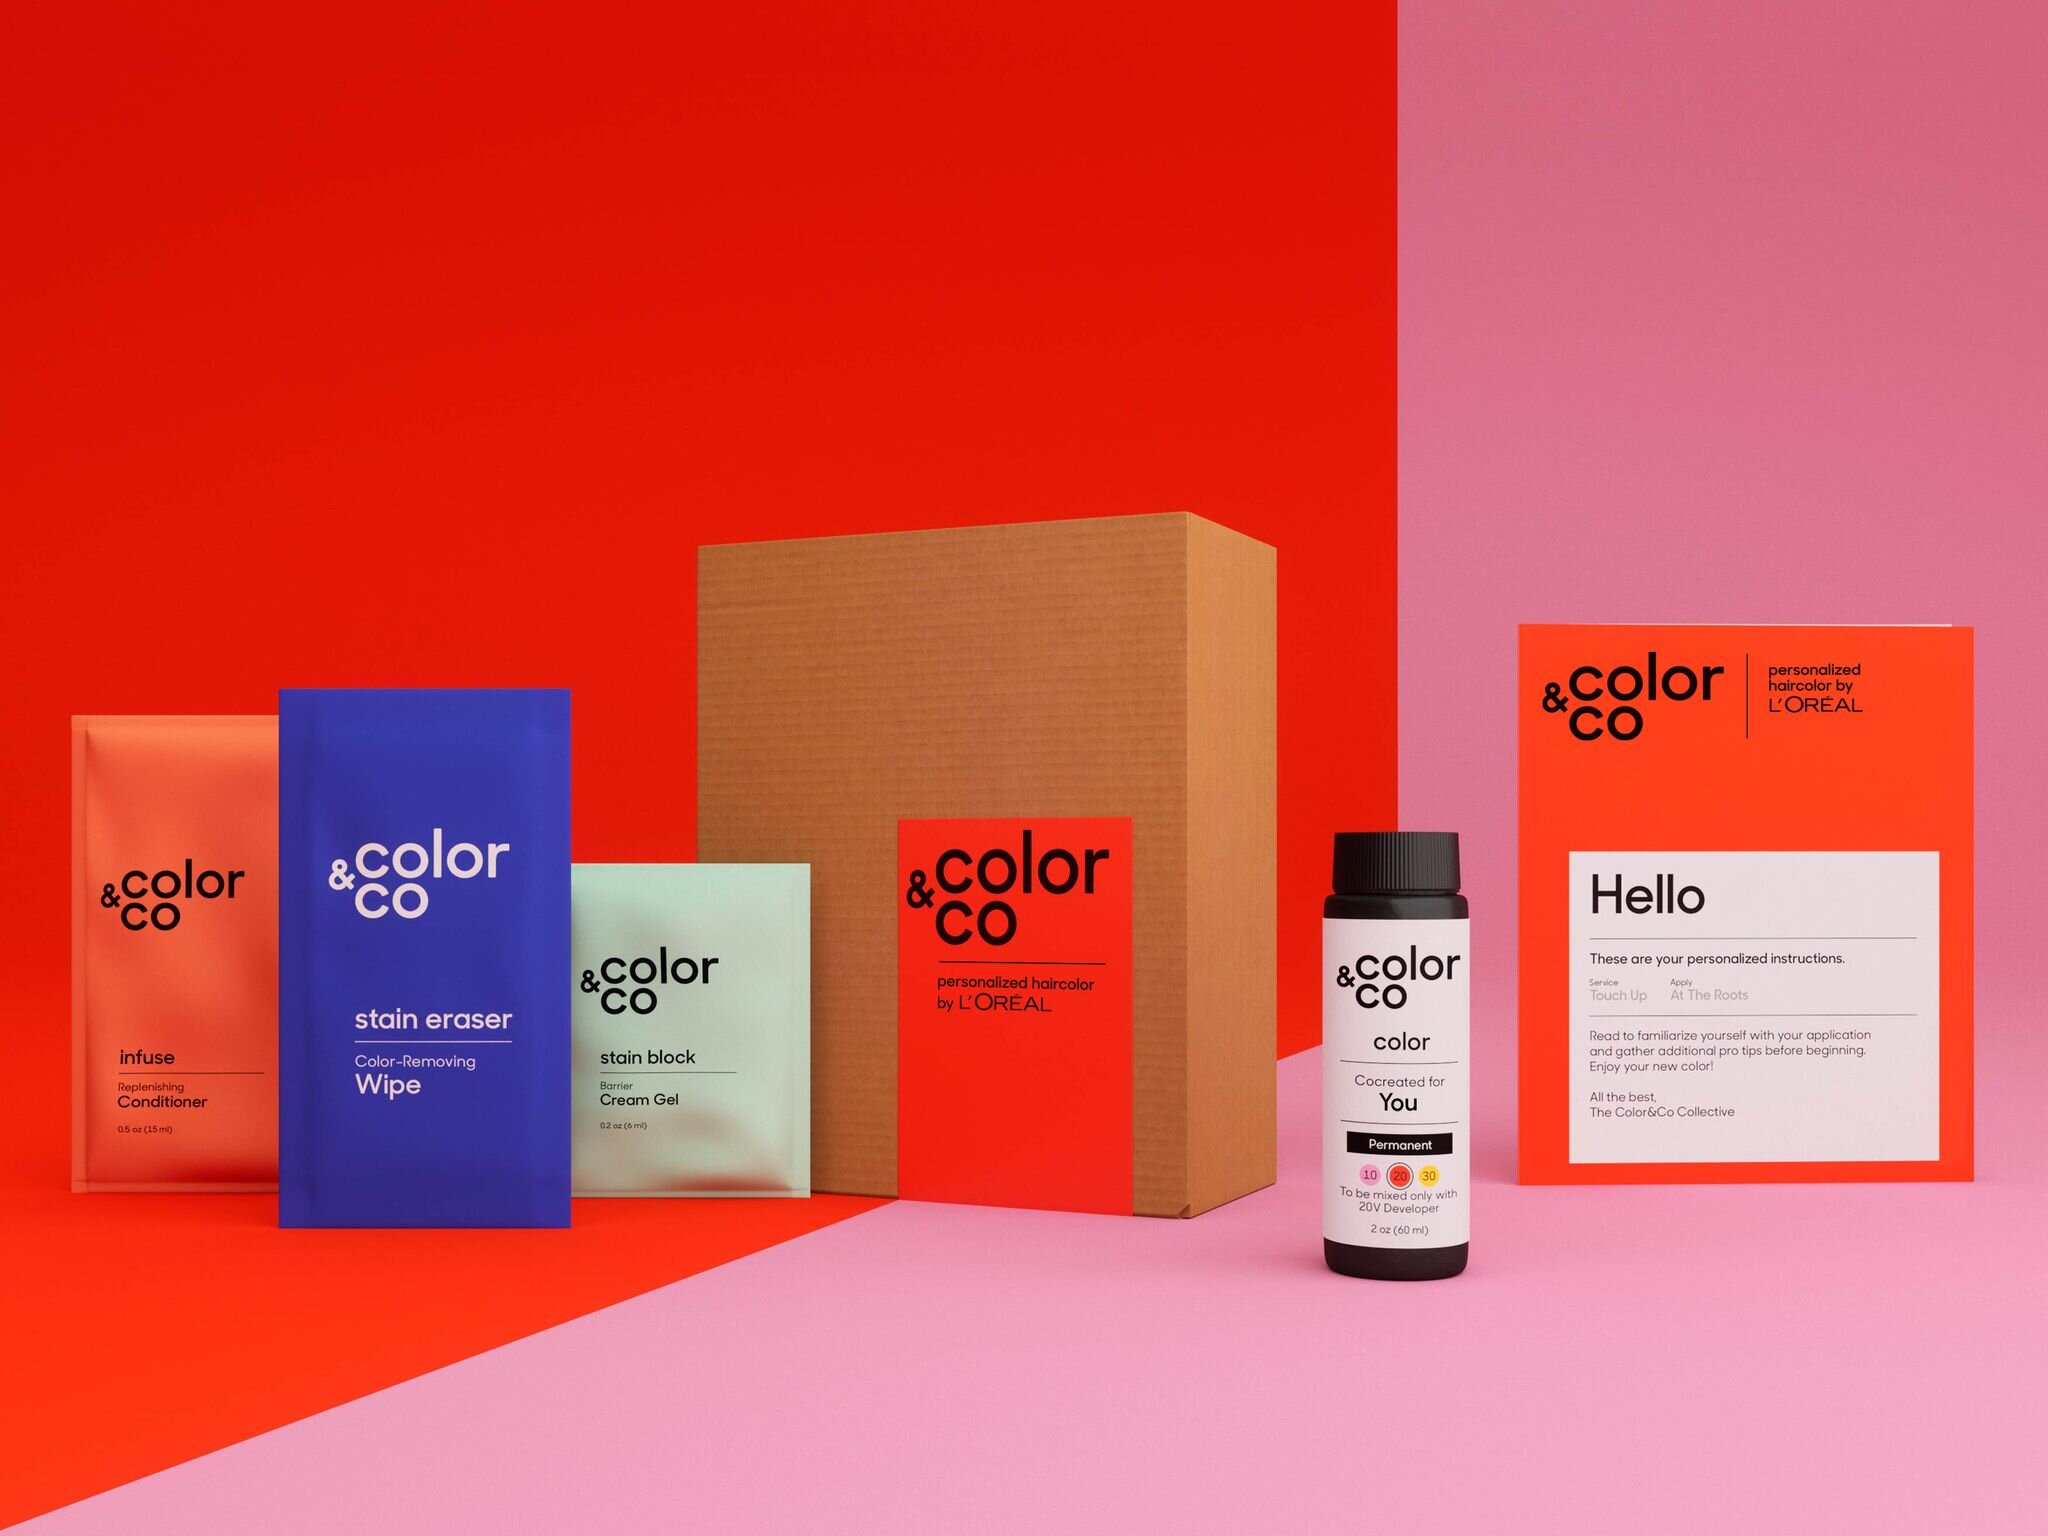
The kit comes with your color, the developer that you’ll mix with it, 2 sets of gloves, a packet of stain guard, a packet of stain remover, and a packet of conditioner.

In my case, I had 2 colors and 2 different developers. You’ll also receive a packet of personalized instructions; mine had instructions for doing my roots first and setting a time for 35-45 minutes to really cover my grays. Then, 10 minutes in, I would apply the second color to my ends.

When it comes to actually coloring your hair, if you’ve done it a lot, you probably have a process that works for you. I know I do! However, if you’re new to coloring your hair at home, I highly recommend chatting with your consultant about how to do it. If it helps, there are lots of YouTube videos out there to help you. The back of your hair is always the most daunting part, at least to me. But you can do it, I promise.

What I Liked Most

When it comes to hair dye, there are a few things I always specifically look for. The main one is that a lot of at home hair dyes drip really badly—they tend to be on the thinner side and it can get messy fast. What I liked about the color I received from Color&Co was that the dye itself, once it is mixed, is fairly thick; I still needed to be careful, of course, but it wasn’t drippy and messy like a lot of at home kits.

Another thing I look for: smell. A lot of at home hair dyes smell really strong—so strong that I usually turned on a fan and opened a window to keep from getting overwhelmed. The Color&Co dye did not smell nearly as strong—it definitely still smells like hair dye, don’t get me wrong, but it wasn’t super strong.

I also loved how easy it was to wash out of my hair. I have a lot of very fine, straight hair, which can be hard to wash; I miss shampoo on my crown at least twice a month. However, when I sectioned my hair to wash, it was just so much easier and didn’t get as tangled. I didn’t feel like I had to spend 20 minutes in the shower rinsing! The packet of conditioner that comes with the kit is also lovely—it smells so good and made my hair so shiny and soft immediately.

Ok, now, let’s talk about the thing you’re probably most interested in: the results.

Color&Co Colorbox Results
Color&Co Colorbox Dark Hair Results

I love my color! I feel like it did such a good job of blending my bleached ends with my gray and grown in roots. It’s the tone I was looking for—I wanted a chocolate brown with a more coppery undertone, which is exactly what I got. I’ve already gotten a ton of compliments on my hair! It’s super shiny after coloring and doesn’t feel damaged, especially on those more empty ends.

All in all, my final verdict is that I would absolutely use Color&Co again—the entire process was so easy and yet, made me feel like it was personalized to me. (Because it was!) A ColorBox is $29.99 and that includes the free consultation; if you sign up for autoship, it drops to $21.90.

If you’d like to try ColorBox, visit them here!

Disclaimer: As denoted by the asterisk (*) in the title of this post, I received the Color&Co Colorbox for free in exchange for review. However, all opinions remain my own. If you’d like to learn more about my disclosure policy, click here.

Beauty Review: No Mo Stache Facial Razor*

Beauty Review: No Mo Stache Facial Razor | Writing Between Pauses

Does it feel like it’s been ages since I’ve done a beauty review? It does, because it has been!

For a long time, beauty products were my go-to to feel good. However, I started to get really burnt out. Sometimes, it feels like hobbies are driven by consuming more and more products—beauty gurus have to always have what’s new, trying what’s new, rather than using what they have. It just plain wasn’t sustainable for my life anymore, I just didn’t have room for that many products.

Over the last few years, I’ve been really working to narrow down my skincare routine so it’s easier for me to use and, ultimately, more effective.

One huge piece for me has been, surprise, dermaplaning. You’ve probably seen these videos on TikTok or Instagram, but, per a quick Google, this is the definition of dermaplaning: “Dermaplaning is a skin treatment that uses an exfoliating blade to skim dead skin cells and hair from your face.”

Basically: you use a little facial razor to shave your face. It’s fun to watch, kind of soothing, very ASMR. The benefits are that this can exfoliate your face, as well as help your makeup apply more smoothly. One of my biggest issues is skin texture—and the reality is all of us have skin texture (all beauty gurus use a blurring filter, if not multiple!). But having my make up apply a little more smoothly is a big draw.

I was approached by the brand No Mo-Stache a few weeks ago to try out their compact facial razor. This was a really exciting email to receive, because I’ve seen No Mo-Stache in stores before. Their branding and packaging is so cute. Plus, I’m always down to try something new.

No Mo Stache Facial Razor Affordable Dermaplaning

They sent me their folding facial razor, along with their eyebrow and face waxing strips. Full disclosure: I actually can’t use the waxing strips right now since I use Retinol. I’ll share a great insert they sent along that includes some information about what to do before waxing—if you use Retinol, however, you can’t wax, as it can cause burns and a reaction.

I can use the razor though, and good thing, because I have been looking for a non-scrub, physical exfoliation for a while.

I have very textured skin, probably because I’ve never met a drop of water I liked that much. I know scrubs are bad for your skin, but chemical exfoliation is simply not enough for my skin—it doesn’t do much. Dermaplaning is a great, gentle way to physically exfoliate, plus remove any hair on your face that you don’t want.

No Mo Stache Wax Strips Easy At Home Wax Kit

So how do you dermaplane?

Firstly, you wash your face to remove all make up and built up oil. Dry and apply aloe vera. Then, holding the facial razor at about a 45% angle to your skin, you just…. shave your face.

That’s it. That’s literally it. You’re shaving your face with a tiny straight blade. It’s surprisingly fun! And again: it’s really cathartic to see all that build up being physically removed from your face.

The first time I dermaplaned, my skin felt so smooth afterwards. I did a light second wash with my foaming Cetaphil cleanser, then applied First Aid Beauty’s Repair Cream (I’m working to repair my acid mantle—I don’t want to talk about it). The next day, I put on foundation and was actually surprised at how much of a difference there was. Just much smoother application.

Dermaplaning isn’t a fix to every problem. The hair on your face will grow back, but you don’t want to dermaplane too often. I’ve done it twice now over the course of 4 weeks. It feels really nice, it’s fun, and it’s a simple way to just feel better about your skin.

Tips for Waxing Retinol

Here’s that ”before waxing” checklist I promised! Most importantly, you just want to make sure you test your skin first, don’t have too dry of skin, and aren’t using medications that could cause a reaction with the wax.

No Mo Stache is available from Ulta and Target, but you can also purchase from their website here.

Disclaimer: as denoted by the asterisk (*) in this title, I was sent these items free in exchange for review and posting. However, all opinions remain my own. To learn more about my disclosure policy, click here.

3 TikTok Beauty Trends that Are Actually Worth It

3 TikTok Beauty Trends that Are Actually Worth It | Writing Between Pauses

You’ve probably seen plenty of TikTok trends at this point, even if you don’t use TikTok. Instagram Reels is basically just reposted or redone TikToks—making it pretty easy to stay up to date on what’s hip with the teens these days. (Do I sound old? I definitely sound old.)

I pay pretty close attention to beauty trends—always have and probably always will, even if I don’t wear makeup 90% of the time anymore. There are a few I tried out myself in 2020 and I wanted to share how much I thought they were worth it. Are those super cheap Tree Hut scrubs as great as they seem? What about SPF? Here are 3 trends I tried thanks to TikTok this year that are totally worth it.

tree hut sugar scrub tiktok trend

1. Tree Hut Sugar Scrubs

Such a trend that it was even on Refinery29.

When I first started seeing these TikToks on my For You page, I was a little weirded out; all these videos of girls in their shower, using 2-3 body washes, a sugar scrub, shaving with cream, 2 lotions… whew! It’s a lot. And I am very tired.

However, I’m a sucker for a body scrub. I also have strawberry skin on my legs (those little red/purple dots) and have for my entire life. What if this was the secret key?

I haven’t noticed a huge difference in that regard, but these are luxurious scrubs. They smell really good; they’re super affordable; and Tree Hut seems like a really great brand. There are so many varieties of scrub to choose from too—I have the coconut pineapple one and the Moroccan Rose. Both are amazing. (And true story, they make shaving your armpits way easier!)


2. Heatless Curls

Here’s one example, using the wide belt of a robe. These videos are everywhere. And true story, I’ve been using a heatless method using a headband to curl my hair since around 2017. (Here’s a great video explaining it!) I’m so glad this became a trend because I think it’s a really fun way to experiment and learn how to do your hair in a new way without causing damage. It definitely takes some time and practice and sometimes, it just doesn’t turn out quite how it should. (I’m still getting the hand of the belt/sock method!) This is one trend that is totally worth it to try.

3. CeraVe

If you’ve ever been to the dermatologist (and trust me, I’ve been a lot), you’ve probably had CeraVe recommended to you. It’s a dermatologist favorite because it’s readily available, affordable, and pretty darn good. I resisted the siren song of CeraVe for years because they’re aren’t technically cruelty free. But if there is one thing 2020 taught me, it’s that sometimes you have to use what works for you and sometimes people aren’t going to have access to the much more pricery, harder to find cruelty-free items. I still buy CF when I can, but it’s not a priority for me anymore, although I still respect CF skincare and beauty gurus.

That out of the way, CeraVe really blew up on TikTok thanks to “skincare TikTok” really taking off. I feel like every other year, we all rediscover skincare and try new things. 3 years ago, everyone had a 12-15 step skincare routine and a matching spreadsheet (me, looking at the sad, neglected skincare spreadsheet on my own iMac). Now, we’ve dialed things down. We don’t all need that many steps. And getting back to basics is really good for us.

I use the CeraVe Facial Moisturizer with SPF and have for about a year now. It really is worth it. Really. It’s better than every expensive SPF I’ve ever bought.

I Tried Banish Acne so You Don't Have To*

I Tried Banish Acne So You Don't Have To | Writing Between Pauses

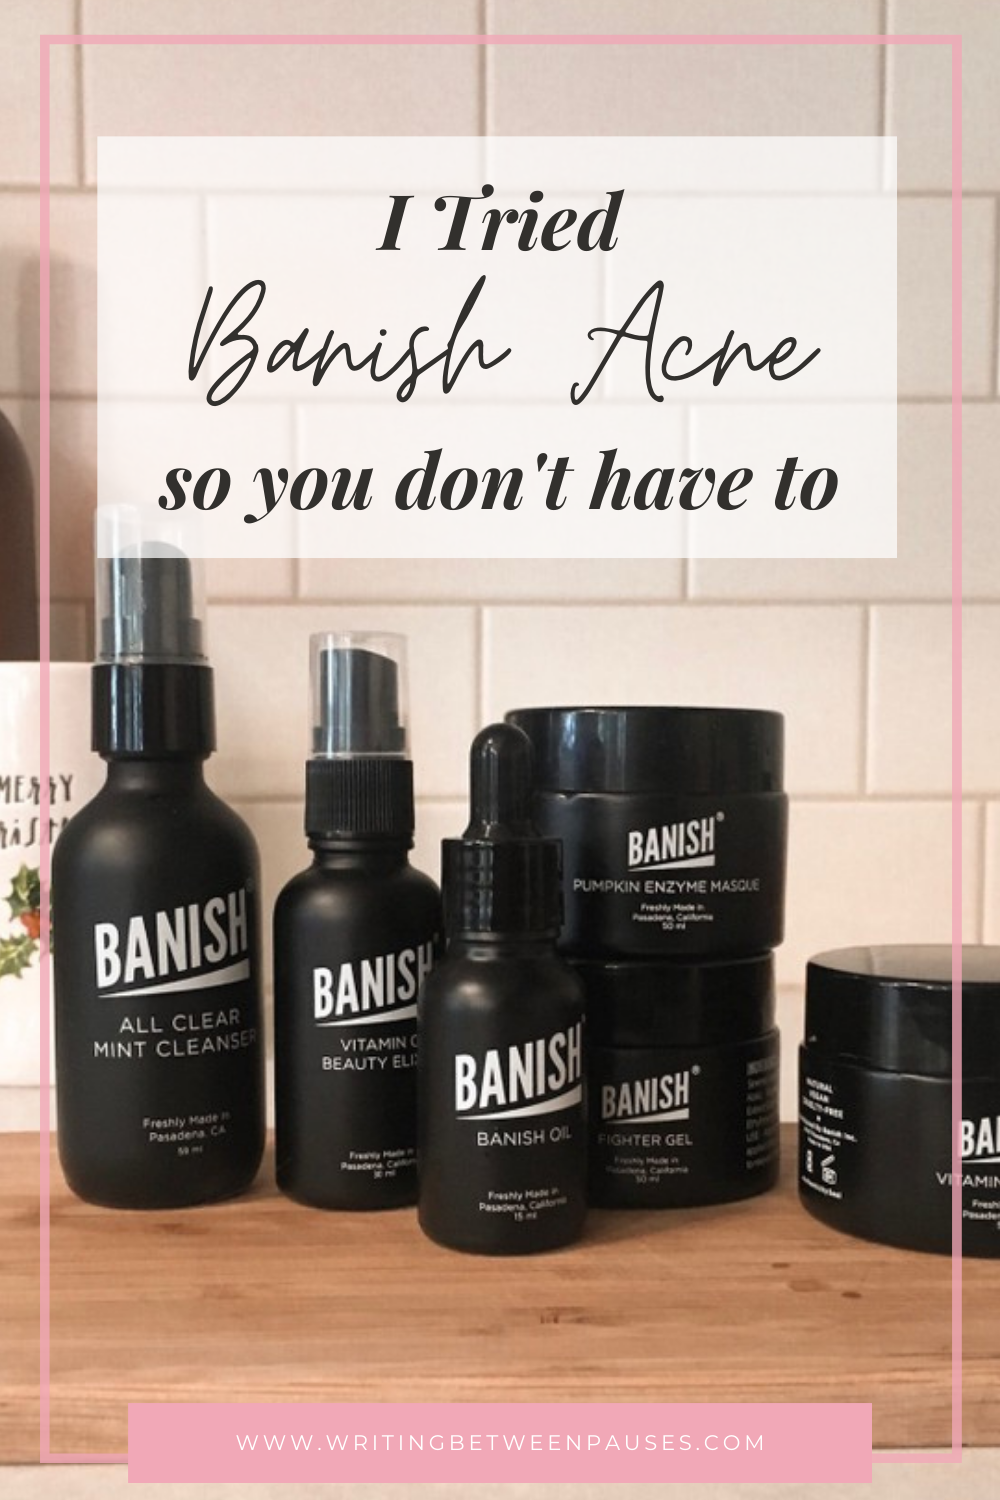
A few weeks ago, Banish approached me about reviewing their line of acne fighting products. I, of course, said yes. I love trying new skincare products, even if it’s not what I write about everyday. And I don’t know about you, but ever since March, my skin has been absolutely out of control. Stress, masks, the fires in September… it felt like my skin was being attacked every day!

Banish kindly sent me the Banish Starter Kit, plus the All Clear Mint Cleanser. As you might know, I’ve struggled with my skin for most of my life. A few years ago, a combination of going dairy free and using jojoba oil religiously gave me the best skin of my life. However, times change, our bodies changed, and what used to work doesn’t work anymore. Story of my life, am I right?!

Here’s a quick and easy review of the products I received and how I liked them!

The Banish Starter Kit

The Banish Starter kit is one of the best, all-inclusive sets Banish offers. If you’re looking to really rejuvenate your skincare routine, this is the one for you.

Banish focuses primarily on Vitamin C and all natural ingredients to help fight acne, plus reduce the appearance of scars and hyper pigmentation caused by acne.

Here’s what comes in the Starter Kit and what I thought of it:

Banish Oil: this is a vitamin C serum that is intended to help reduce the look of acne scars. I liked this oil, but found that as far as a serum goes, it wasn’t my favorite. It made my skin feel really sticky and grimy. But that being said, I did notice an improvement in my scarring on my chin!

Vitamin C Beauty Elixir: this is a facial mist that gives a boost of Vitamin C and moisture. It’s great for applying throughout the day. I kept this on my desk for days when I felt rundown and in need of a little extra TLC.

The Banisher 2.0: This is a microneedler. I’m not here to tell anyone what to do necessarily, but this is the one product I disliked the most. I don’t believe in microneedling, but mostly just believe that you should leave this to the professionals. I was personally too scared to use this, so I didn’t. However, I know some do love using it! It’s just not for me.

The Pumpkin Enzyme Masque: This was my favorite product. It smells like pumpkin; it makes your skin feel amazing; and it contains AHAs and BHAs that act as natural exfoliators. On the days after I used this mask, my skin definitely felt 100% better and I noticed my redness that I get at the beginning of my cycle was diminished a lot.

Fighter Gel: This gel is a water-based, aloe vera gel that helps calm redness and inflammation, as well as other skin complaints. It smells incredibly mentholated, however, so be careful of that. I did really like this gel! It makes your skin feel very soft and soothed!

Vitamin C Creme: I’m on record as saying Vitamin C all over my face tends to make me break out bad. However, this cream was an exception! It’s 20% vitamin C and is heavy enough for a winter moisturizer. I used it at night and loved how soft it made my skin!

All Clear Mint Cleanser

I love a good cleanser! This cleanser is a gel-based one with chamomile leaf, mint, and vitamin B5—all intended to get your face clean while reducing inflammation. This was really the perfect morning cleanser; really light, but with a smell and feel that is perfect for a wake up call!

Who is Banish best for?

If you’ve had acne most of your life, or cystic acne at any point, you probably have some scarring. I know I do. My chin is a wreck these days thanks to several years of pretty bad cystic acne break outs. Banish is designed to soothe existing break outs and skin conditions, while also fading those scars and areas of hyper pigmentation. If you struggle with any of those issues, Banish is definitely worth a try.

Even better, it’s just nice to be able to get everything in one go: moisturizer, cleanser, etc. It’s nice to have one line up to turn out! Some items are definitely better than others, but overall, I think there is potential for every product to work for somebody who needs it.

Final Thoughts

If you are struggling with your skin’s texture or appearance due to scars, I think this is a line that will work perfect for you. To try Banish, visit their website here. Thank you again to Banish for sending me these products to try!

Disclaimer: As denoted by the asterisk (*) in the title of this post, I received products for free in exchange for a review. However, all opinions remain my own! If you’d like to learn more about my disclosure policy, click here.

Master the Order of Your Skincare Routine (+Free Printables)

Master the Order of Your Skincare Routine (+Free Printables) | Writing Between Pauses

Hello there! I’m so excited to bring you a guest post from Fragrance X, a fantastic resource for fragrances and more. I hope you enjoy!

Lets face it, finding the perfect skincare routine can seem almost impossible. With the endless amount of skincare products and complicated routines, it can be very overwhelming. Where do you even start?

The first step is to understand which skin type you have. That way, you know what  products to look for (and what to avoid!). Here’s a quick recap if you aren’t sure which skin type you have:

Dry skin - Your face feels tight and there might be noticeable flaking. You easily scar and there are irritated red patches on your face. Hydration is the most important thing for you! 

Oily skin - Your face is shiny and feels greasy throughout the day. If you take a piece of tissue or blotting paper and it comes back damp, then it’s likely you have oily skin! Daily cleanse and exfoliation are the most important things for you!

Combination skin - You break out in your t-zone (forehead, nose and chin), but the rest of your face feels dried out.  Balancing your pH is the most important thing for you!

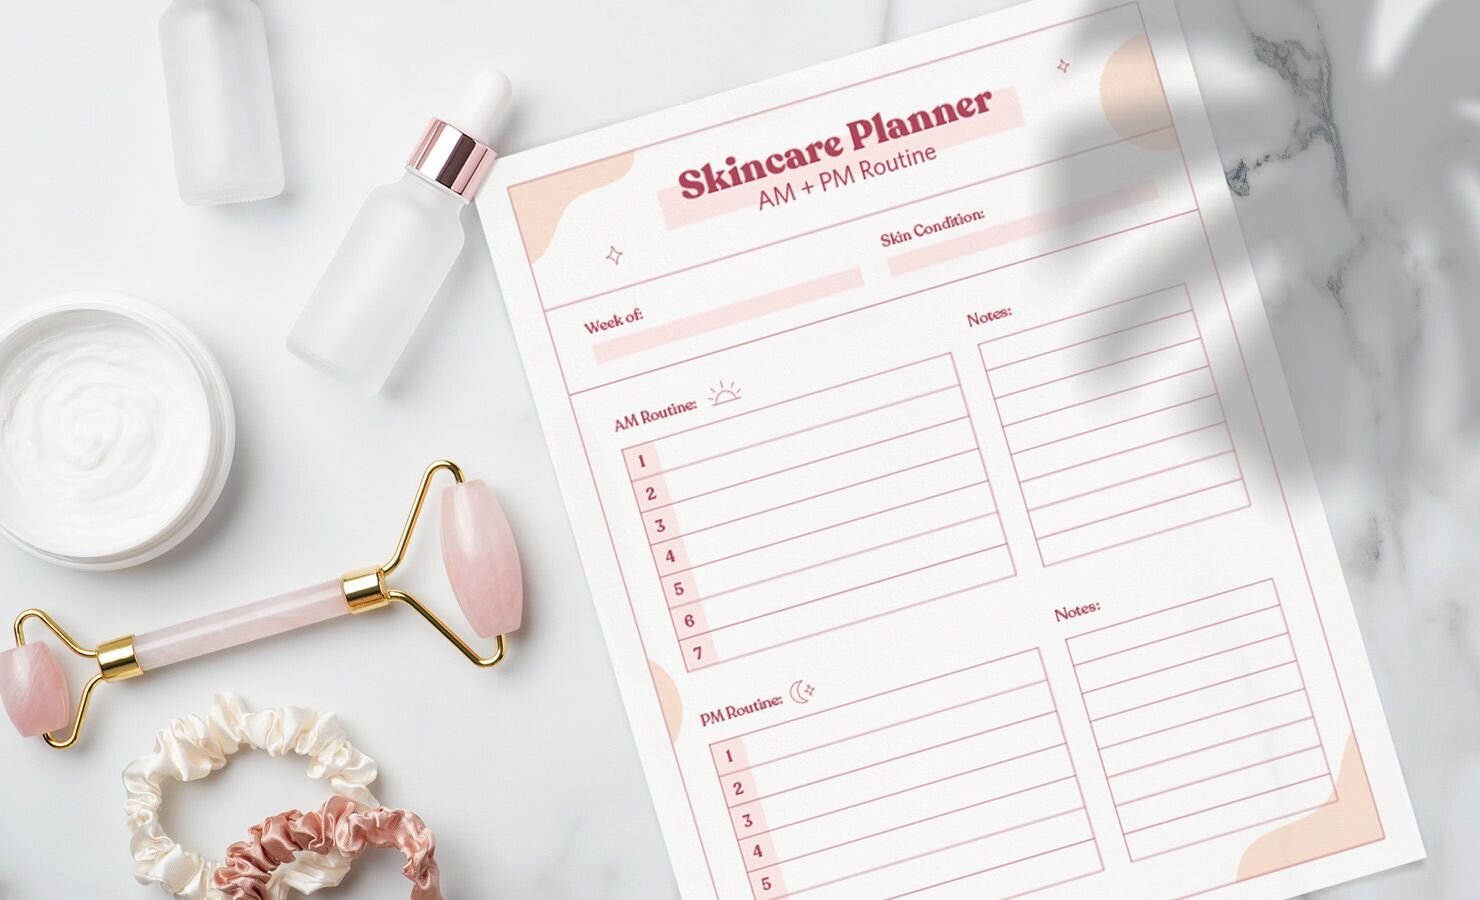
Now that you can identify which skin type you have, let’s move on to how to master the order of your skincare routine. To keep it simple and organized, download this handy skincare routine planner that sets you up for success.

skincare planner

Morning Skincare Routine:

Starting off your day with a morning beauty routine that helps energize you is super important. When you wake up, your skin needs nourishment. Follow this six step morning skincare routine to give your skin some refreshment!

Step 1: Cleanser

Cleansing your face with a gentle cleanser is the perfect way to start off your skincare routine. Opt for a cleanser that’s gentle but suitable for your skin type. Remember to be gentle and rub in circular motions rather than scrubbing with something too harsh like a washcloth.

Step 2: Toner

After cleansing, it’s time to apply a toner! Toners are great for balancing your skin’s ph (which gets acidic overnight) and is the mediator between cleansing and applying other skin care products. 

Step 3: Serum

Serums are foundational for providing your skin with the vitamins it needs to be healthy. Serums are full of nutrients, making them the fruits and vegetables of your skincare routine. Opt for one with Vitamin C, as it brightens and tightens your skin while also creating a protective barrier against UV rays and pollutants. 

Step 4: Eye Cream

The skin around your eyes is super thin, so you’ll start to see aging around your eyes first. Start early and find an eye cream with peptides, Vitamin K, caffeine, or shea butter to combat early aging and dark circles!

Step 5: Moisturizer

No matter which skin type you have, you don’t want to skip the moisturizer! A moisturizer locks in moisture and provides the skin with extra hydration. Apply one when your skin is slightly damp and wait for it to sink in before applying any makeup.

Step 6: SPF

You’ve probably heard it enough, but SPF is extremely important to wear everyday! Even if it’s a rainy day or you plan to spend your day indoors, sunscreen is always a must! It protects your skin from harmful UV rays that cause cancer, premature aging, and acne scarring.

Evening Skincare Routine:

After a long day, you and your skin have been through a lot together. It’s time to recuperate and recover with this six step evening skincare regimen!

Step 1: Double Cleanse

Cleansing your skin twice a day may sound like overkill, but it’s actually very beneficial. The first cleanse (an oil based cleanser) is to loosen up any dirt, oil and makeup that built up throughout the day. The second cleanse (which can be the same cleanser as your gentle morning wash)  is to actually wash those things away.

Step 2: Toner

This step is optional in the evening, depending on what skin type you have. If you have oily skin, opt for only toning once a day, preferably in the morning. 

Step 3: Eye Cream

Look for an evening eye cream that is centered around hydration more than anything else. Eye creams that include ingredients like shea butter are ideal for an evening routine.

Step 4: Spot Treatment

If you have any blemishes, a spot treatment is great for zapping it overnight. Be careful not to overdo it and only apply the treatment on the affected area.

Step 5: Moisturizer

As you sleep, your skin loses hydration. For sensitive skin, you can use the same moisturizer you use in the morning. However, a thick night cream is great for creating a layer to retain your skin's moisture - perfect for those with dry skin.

Step 6: Retinoids

Retinoids are great for anti-aging and preventing acne. However, you’ll only want to apply this step three times a week rather than every night. If you have sensitive skin, ease into this step and try it out once a week first. As always, consult your dermatologist before using any specific products or treatments.

The journey to clear and supple skin won’t happen overnight. Even if you have the best products and a strict skincare regimen, that doesn’t always mean our skin will cooperate. Regardless, anchor your skincare to the foundations outlined here. Most of all, love the skin you’re in!
5 Drugstore Swaps for Skincare & Make Up

5 Drugstore Swaps for Skincare & Make Up | Writing Between Pauses

I didn’t wear make up for the first 3 weeks of stay-at-home orders. I’m sure I’m not alone there. I really didn’t see the point. I wasn’t following my routines, I was flailing, and I was feeling pretty crappy to be honest.

3 weeks in, I realized that getting ready was a huge part of my routine and letting go of it left me feeling bad. Plus, I started having more Zoom calls and staring at my face, with no makeup and my hair in an ever-present bun, felt a little bit too much. I started getting ready again and it make me feel so much better.

But then, a few more weeks in… I realized I was dangerously close to being out of a few make up essentials. Worse, I was close to being out of some skincare essentials. This isn’t the worst problem to have, but I’ve been trying hard not to order things on Amazon or that require shipping—I just don’t want to endanger anyone. (No shade if you do! I have ordered a few things, but I’ve been trying to limit it to essentials I can’t get elsewhere.)

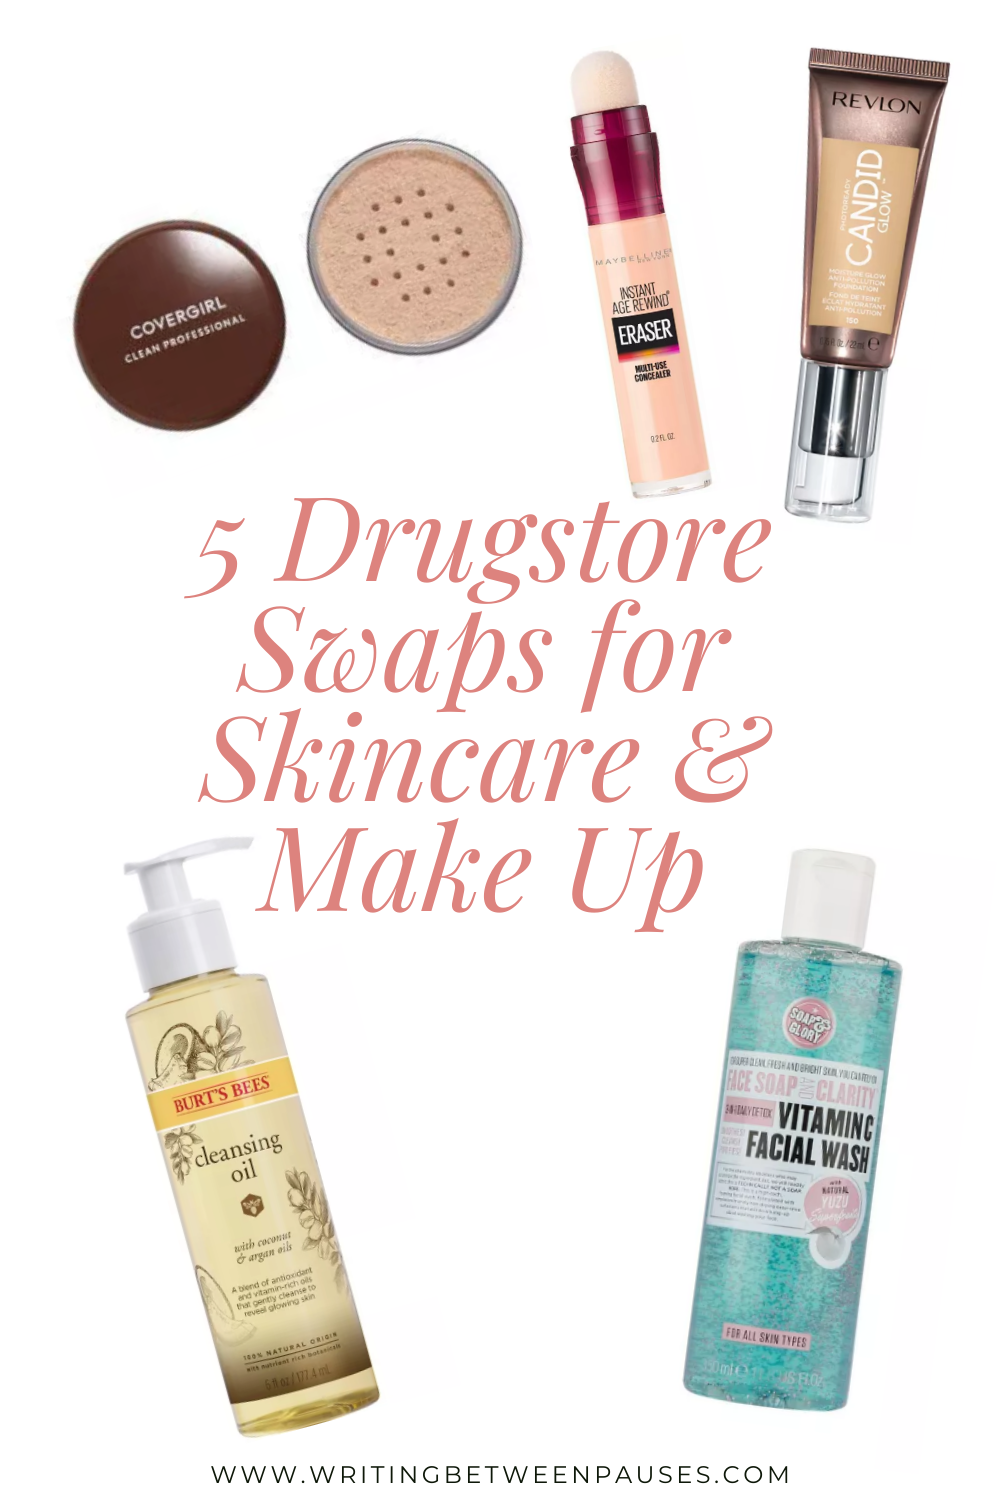
I decided to look at some drugstore swaps for my daily essentials and tested a few out, that I got via Target pick up or my weekly run to Walmart for prescriptions. These are all affordable options, available primarily at Target, but also at most drugstores. If you’re doing a grocery or prescription run, these will be there for you to pop into your cart. If you’re in need of some basics, here are a few swaps.
5 drugstore swaps for top skincare and make up items Target pick up

1. Need a foundation? Try Revlon PhotoReady Candid Moisture Glow Foundation.

This foundation is around $7.99-$8.99 depending on where you buy it and one of my favorite new foundations. Full disclosure, Revlon is obviously not cruelty free. But in a pinch, it works. It is definitely a more sheer foundation, but stays in place shockingly well. I find that for Zoom calls and all my digital meetings, this is all I really need; just something so I don’t look red or tired. For reference, I previously wore Too Faced Dew You foundation, which was heavier coverage, but a dewy, moisturizing formula.

2. Need a concealer? Try Maybelline Instant Age Rewind Concealer.

Some days, you don’t want a full foundation, but want to cover any blemishes for a Zoom call, Facetime, whatever. Or just because you like to. However, that concealer stick is running low. What do you reach for that you can get at the drugstore?

Honestly, Maybelline’s Instant Age Rewind Concealer (well known for its little puffball applicator) is pretty famous and it’s so affordable. I find that the color matching is great too. That being said, I do not recommend using the applicator as it comes; when I see people swipe this on their face, I cringe. You can’t wash it! You just rub it on your face over and over without washing! My recommendation is to use a small concealer or eyeshadow brush to swipe the product off the applicator and onto your face—but that’s just me, the one who easily breaks out if the wind blows a bit wrong.

3. Need powder? Try COVERGIRL Professional Loose Powder.

I put on powder most days, even when I’m not wearing make up, because I am always a bit oily and this tends to keep my face from feeling grimy. I usually use either my It Cosmetic’s Bye Bye Pores loose powder or a compact I got from my Ipsy bag a few months ago (it’s my not favorite, but I keep it at my desk and it helps!) However, I’m running low on both so I reached for my former tried-and-true favorite: the COVERGIRL Professional Loose Powder. For years this was my go-to powder; I used it probably from age 17 to 25 or 26. That’s nearly 10 years!

I still really like it, but I stopped using it when I went primarily cruelty-free. However, without being able to pop into Ulta, I’m relying on drugstore and this COVERGIRL powder is still as good as I remember. It comes in great color options, goes on sheer, doesn’t look like you’re a Victorian when you use it, and is super affordable.

4. Need a face wash? Try Soap & Glory’s Face Soap & Clarify Daily Vitamin C Facial Wash.

I love Soap & Glory’s products and this face wash, their Daily Vitamin C Facial Wash, is a great stand in for two products. If you’re in need of a new face wash because your favorite is running low and/or you also need to re-up on your Vitamin C product, this is a great fill in for both. And it’s less than $15 for a huge bottle. It smells fantastic and makes your skin feel amazing without being too aggressive of a cleanser. Plus, that dose of Vitamin C helps with dark spots, uneven skin, acne scars—you name it. (As a note, make sure to slather on the SPF if you plan to be outside or sitting near a window!)

5. Need a cleansing oil? Try Burt’s Bee’s Facial Cleansing Oil with Coconut & Argan Oil.

I typically buy my cleansing oil (plain jojoba) at Trader Joe’s. But ever since the quarantine, I’ve avoided TJ’s because they are always the smallest stores and they just get too crowded. So, I started looking for a good drugstore alternative and I settled on this one: Burt’s Bees makes some great skincare products and this cleansing oil is lovely. At first, I was suspicious of the coconut oil, which is comedogenic and not great for acne prone skin. But the amount in it is negligible and since I’m double cleansing anyway, I decided to try it. I’ve been really happy with the results, it smells amazing (like rosemary, which isn’t for everyone, but I love), and it works beautifully.


Do you have a good skincare or make up swap you’ve made recently? Let me know in the comments. Let’s make it easier for everyone to find what works right now!