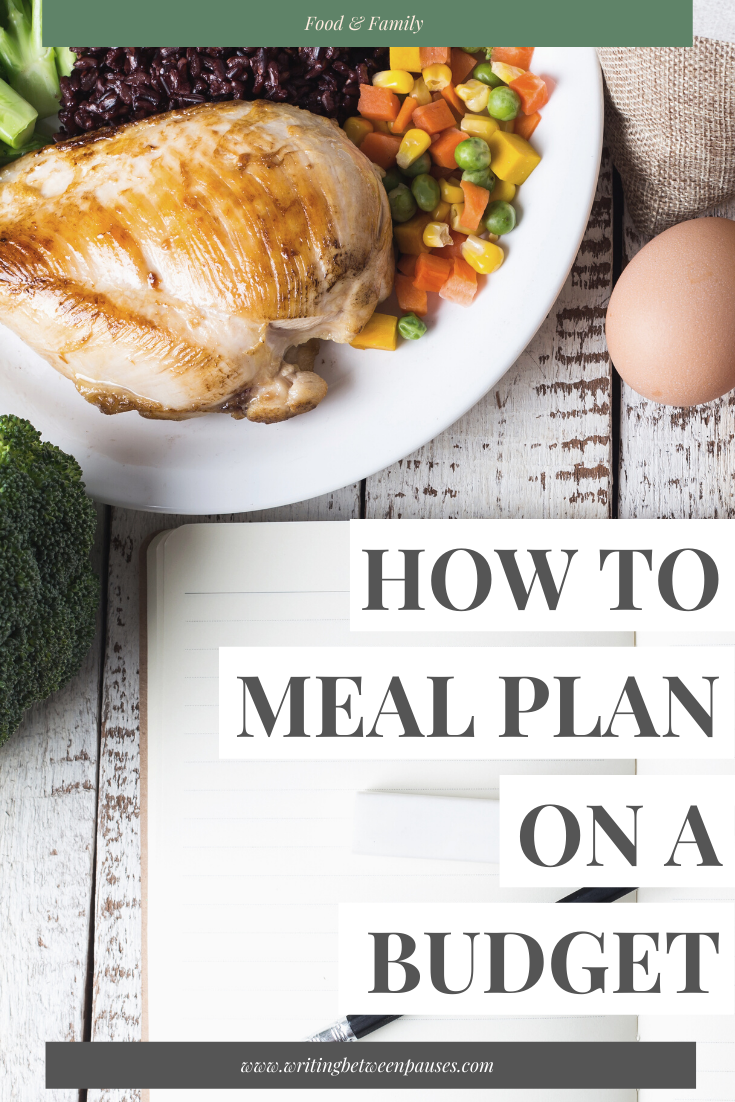
How to Meal Plan on a Budget

How to Meal Plan on a Budget | Writing Between Pauses

Welcome to my new series, Meal Planning March! I’m excited to share all the tips and tricks I have for meal planning. It’s one of those things that most people know will help them eat better, eat cheaper, or just have less stress—but can feel overwhelming to get started! In this series, we’ll talk budgeting, creating meal templates to reduce decision fatigue, and more!

When you think of meal planning, what comes to mind?

Do you think of those complicated printables you see on Pinterest? Or do you think of those cutesy templates that are almost too simplified?

Or, are you like me and do you immediately want to go lie down?

I make so many decisions every single day: how to respond to comments for my work, how to respond to emails, how to do this, things I need to research, to do lists that I need to prioritize… it can be hard to add one more decision to my day, like deciding what to make for dinner or, worse, deciding what to make for 7 days worth of dinners.

So how do I make meal planning easier? And how do I not spend thousands of dollars every single week considering every possible meal option?

Let’s start with the second question: budget.

Setting Your Weekly Grocery Budget

For my family, we typically spend about $50-75 on groceries every week. Then, every 6 weeks or so, we do a big Costco shop that is between $100-200 (it depends on if we need dog food and toiletries, like paper towels, at the same time).

On this note, we also buy meat through co-op systems, like splitting a cow or pig from a local farmer with other people. That saves us a ton of money and we usually don’t buy meat week-to-week—the only exception is turkey or chicken, if we’re using those that week.

This is all to say: setting your weekly budget is hugely personal and one of the most challenging parts of meal planning. If you’re like me and a little obsessed with saving money, it can also be a huge headache when you end up spending a ton on groceries that you end up not using.

Here are a few factors to consider when creating your weekly budget:

  • Be realistic about how much food you need to buy.

  • Be realistic about what you will eat. I usually stick to buying 2-3 fruits to have for snacks every week—not a selection of every fruit I like. If it’s in season, even better. The same goes for vegetables; rather than buying a few of all the veggies I like, I pick my few rockstar veggies that I like in everything, typically broccoli, carrots, and spinach.

  • Do you need all those snacks? I know lots of people buy lots of snack foods every week. And while some weeks I definitely go hogwild in the snack aisle, I don’t think it’s necessary. We usually keep pretzels, granola bars, and fruit snacks stocked and that’s pretty much it, as we try to snack on whole foods otherwise. If a significant portion of your grocery bill is going towards a ton of snacks, it might be time to re-assess, as they can’t be used in meal preparation.

Another huge part to consider: how much can you afford to spend each week? For us, we could probably spend a bit more on groceries (and/or I could spend less time shopping sales and looking for coupons), but we have found that our budget gets us what we need, and isn’t too time consuming for me to shop at this point.

Creating a Meal Plan with Budget in Mind

There are a few foods that are cheaper to make. Things like bean and rice bowls are highly affordable. Conversely, anything with a meat-based protein (or plant-based protein that is highly specialized, like Beyond Burger) is going to be more expensive. Pastas, rice, and most grains can be bought in bulk and make meal planning a lot easier.

Here’s what I do:

  • Each week, I sit down with a cookbook and PInterest and start searching for things that look good. I keep in mind what I have on hand—typically, a lot of beef, some freezer items, and salmon that I buy from a local fishery—and pick meals based on those things.

  • I also pick recipes that include more fresh ingredients, rather than canned.* While canned foods are cheaper, I don’t typically like them—but that’s just me!

  • Recipes with less ingredients tend to draw me in more than time-consuming or multi-step recipes, probably because they’ll end up costing more overall.

My favorite cookbook right now for meal planning is Danielle Kartes’ Rustic Joyful Food: Meant to Share. These recipes are all big, meaning they make a lot (and are therefore easy to freeze extra or simply cut in half). She also tends to create recipes that don’t contain very expensive ingredients and that’s one thing she notes in her book as well.

Once I have a list of things I want to make, I start writing out what I don’t have for those recipes. If the list starts getting too long, I will re-assess what I’ve picked to make and swap things around to save for later.

My Best Money Saving Tips

  • Buy in bulk if you can and if you have the storage. It’s more cost up front, but if you break it down, it lasts longer for less. However, that being said: the up front cost can be off-putting and the storage aspect can make it tough.

  • Shop the sales. If there is a big sale on chicken or turkey, buy a few and plan meals around those for the month. I get weekly emails from my grocery store to better help me see what’s going to be on sale when it’s time to go shopping.

  • Repurpose leftovers. Here’s an example: after I make tacos, I always have extra meat, rice, and beans. I usually will turn those into a layered taco casserole the next day just to change things up. If you make a roast on Sunday, you can work those leftovers into your meals for at least one or two extra days—think roast beef sandwiches, chili, beef stew, or shepherd’s pie. Super simple!

Have tips you want to share? I’m all ears! Leave your thoughts in the comments below!

Why I Take Elderberry (featuring New Hilma Elderberry Immune Gummy)

Why I Take Elderberry | Writing Between Pauses

Elderberry syrup or gummies are one of those things that seem a little, you know, woo-y. It’s up there with charging your crystals in the moonlight or using essential oils to cure your ills, at least culturally.

However, I feel in some ways elderberry gummies have become about as mainstream as those crunchy beliefs can be. You can buy elderberry gummies for kids at Target now, of course. The formerly super hippie thing my mom did is now available OTC, which is a pretty big deal, honestly.

Hilma recently sent me their new Elderberry Immune Support Gummies. I’m a huge fan of Hilma and have written a review about them before, but I was especially excited to try these new elderberry gummies.

I have taken elderberry syrup every day for years. I usually make it myself from elderberries I buy online—however, elderberries can be hard to source and I’ve had to change where I order from a few times. As well, the physical elderberry is fairly poisonous—you can only consume the syrup, not the berry itself. So making my own syrup in my kitchen sometimes felt, well, a little more dangerous than it needed to.

Switching to gummies felt like a better idea, but a lot of gummies have additives in them that I’m not a huge fan of—like gelatin or high fructose corn syrup.

That’s what I like about the new Hilma Elderberry Immune Support Gummies—they are vegan, meaning they don’t contain any gelatin. They also don’t contain high fructose corn syrup or corn starch, if those are concerns of yours. They also have zinc and vitamin C, so you get a few extra doses of those good, immune-boosting vitamins and minerals.

But enough about my favorite gummy vitamins—what are the benefits of taking elderberry? Is it something to include in your routine?

vegan elderberry gummy no gelatin

The 3 Reasons I Take Elderberry

1. The immune system boost.

It goes without saying: taking something to help your immune system is a great way to feel better. I get sick a lot and really easily. In March 2017, I had the flu for 6 weeks and that was really the breaking point for me: I was super run down and my body clearly needed a leg up. That’s when I started consistently taking elderberry. While I still get sick occasionally, I have found that I don’t get sick as intensely as I used to. This might be a placebo effect, but also… what do you have to lose?

2. A daily routine that makes me feel good.

Plain and simple, taking my elderberry every day helps me feel like I’m doing something good for my body. I might have bad days; I might have days where I don’t eat a single vegetable; but if I took my elderberry gummies, I feel pretty dang good about myself. That and my daily vitamins. If you want to make prioritizing your health part of your daily routine, something as easy as taking elderberry gummies is one really low-risk way to get started.

3. Reducing inflammation.

Ok, this one is a little bit of a departure, but hear me out. In 2008 (I know, a century ago), I was diagnosed with interstitial cystitis, a bladder disorder where my bladder responds to inflammation by thinking it has a UTI (but it doesn’t—it’s just that my intestinal tract is slightly inflamed, or at least that’s the best guess). I try to eat a relatively low-acid diet—that means limiting things like citrus and tomatoes. However, foods with antioxidants, like blueberries and elderberry, have been found to help reduce inflammation. I have found that taking elderberry in some form every day has been much more helpful in reducing flares than following a low acid diet or taking IC-related medications. That’s just me personally—your mileage may vary, as they say.

elderberry gummy benefits

Yes, that’s Remus begging for my elderberry gummy. I couldn’t get him to leave me alone.

Would you like to try Hilma’s Elderberry Immune Support Gummies? You can order them here and use my code MICHELLE20 for 20% off your first order.

Going From Freelancer to Employee

Going From Freelancer to Employee | Writing Between Pauses

There are so many blog posts out there about switching from being a full-time employee to a freelancer. I should know—I wrote some myself.

But back in December when I made the decision to accept a job (a full-time job as an employee!), I started Googling (because that’s who I am). Here are a few of my searches:

  • “advice for going from freelance to employee”

  • “what to know going back to being an employee”

This shouldn’t come as a surprise, I suppose, but there isn’t a lot being written out there about people who go from freelance to being an employee. A lot of this is because the SEO for these search terms is dominated by people selling courses (big surprise) and a lot of this content is about switching to being a freelancer (and hey, why don’t you buy this course to help you learn how to get clients??).

People who are quitting freelance to go back to being an employee aren’t a money-making opportunity. And that’s just fine.

For me, being a freelancer was really challenging, it was outside of my comfort zone, and it helped me grow a lot as a person and in my career. Was it my forever plan? Absolutely not. I went into it absolutely knowing that. ⁠It was simply something I had to do to make money for the time being, because I found finding a job really challenging—I had really strict guidelines I wanted when it came to being both a parent and an employee.

Freelancing can be really hard. Working for yourself is not the way the Instagram gurus like to portray. Have you ever seen those ads where those same gurus brag about selling 6-figures worth of services in a month? Well, someone has to do 6-figures worth of work if they sell it--so that means they work a lot... and that’s if they’re being honest about how much they sell their services. (The truth is probably that they aren’t making that much money. There is a huge controversy right now with coaches being exposed for not making the big bucks they said they did—which basically renders their services null and void. Shockingly people who work a lot and make a ton of money at their jobs typically don’t spend time bragging about it constantly.)

This is all to say: lots of people go from being freelancers to employees and thrive because of it. If you like me are doing Google searches to see if anyone has lived that, I hope you find this and know you're not alone. ⁠

I did want to share a little bit more about what I’ve been mulling over when it comes to this big change in my life. Let’s dive in!

1. Working for yourself isn’t for everyone (and we have to stop pretending that it is).

Here’s the thing: it’s totally ok to be “just an employee.”

I feel like the mood on the internet is often that working for someone else is useless and your career is only valuable if you start your own business. I just simply don’t believe that’s true. We all find ways of feeling valuable. If owning your own business or freelancing is something that calls to you, by all means, go for it! But if it doesn’t call to you, there isn’t anything wrong with that.

As well, you might really think you’ll thrive freelancing, but then find that you don’t like it—and that’s ok too! It takes a certain personality type, to be quite honest, and some people are just better at it.

Freelancing isn’t better than being an employee. Different things work for different people and encouraging everyone to freelance or own their own business to the detriment of their personality or stress level is… bad.

2. Being a freelancer uses more energy on a wider variety of things.

Not only was I managing client’s social media and writing a ton of copy week-to-week, I was also acting as an account manager, a bookkeeper, and a project manager. It was way more mental energy every single week and for 75% of those tasks (like organizing my time sheet, invoicing, keeping track of my books, and more) I wasn’t being paid because it wasn’t client work.

Plus, at least 50% of my mental capacity went towards worrying about my taxes.

It was a lot. It was super stressful and I felt like I didn’t know how to handle it. A lot of the information on how to handle these things is, surprise, behind a paywall these days; there is no one giving clear cut, good advice on how to manage that level of stress. It’s understandable, but it makes freelancing as a profession a lot harder for people who might thrive in it. And it makes people like me, who are high stress anyway, more likely to leave freelancing.

3. I actually have more time now.

So it turns out, not working weekends hugely improves my mental health? Not having to wake up at 4am every weekday to get massive amounts of scheduling and invoicing done is a huge stress relief?

And being able to set my hours and say, “I’m gone at 5pm!” is another huge relief?

This is to say: I actually have more free time now than I ever did in the past year of freelancing and that’s really, really exciting.

Book Review: Everyday Mindfulness by Melissa Steginus

Book Review: Everyday Mindfulness by Melissa Steginus | Writing Between Pauses

I promise someday I won’t start every single blog post the same way, but I do think it stands repeating: the last year has been tough for all of us. It’s been a tougher year for other people and we all know that—even if we’re exceedingly privileged (and I’ll count myself in that category), this has been a tough year mentally. As we come up on the one year anniversary of the start of lockdowns in the US (Oregon closed schools and went into lockdown on my husband’s birthday, March 14, which is a grim anniversary to be quite honest), a lot of us are having an even more difficult time.

I know I am. It’s been a full year of this, of not seeing my friends, of not traveling, of not having much to look forward to.

But I do want to say: we are all so resilient. Even if you’ve had a tough time, you’ve made it, you’re still here. You’re reading this blog post, you want to improve or find hope or have an easier time adapting to a new world. You wake up every day and even if all you do is survive, you do it. That deserves celebration.

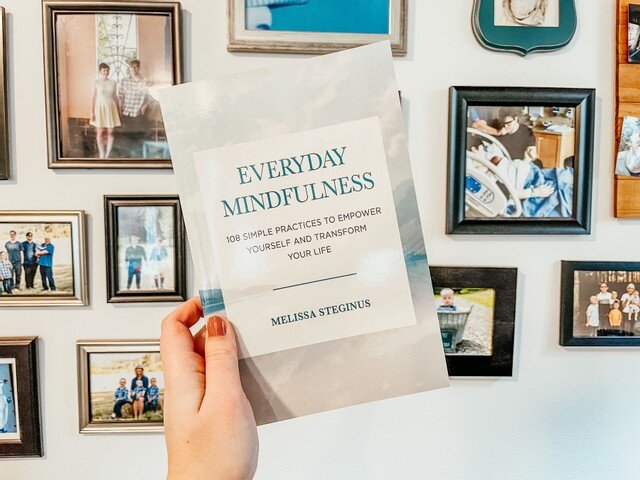
In December, I was sent the book Everyday Mindfulness by Melissa Steginus. Melissa is a “coach and wellness specialist helping people structure their work and lives to be intentional, empowering, and fulfilling.” That’s right up my alley, right? My word for 2021 is intentional: living intentionally, making decisions with intent, and finding joy in small things. Basically: romanticizing my life! I love books about mindfulness, especially ones like this that act as workbooks, and I was so ready to dive in.

(If you’d like to read more about Melissa, you can click here to go to her website!)

Books for Mindfulness and Meditation

Here are a few things I love about this book: it works on a day-to-day system, which lets you break down each section into a single day. If you’re new to mindfulness, or even new to journaling (my favorite!), this is perfect: you can use each day as an opportunity to really commit to yourself and your goals. There are 108 days worth of activities—that’s about 3 months. Perfect for getting started on the right foot this year!

Working your way through each section of the book and each activity gives you a full picture of mindfulness. This is really a book meant to be consumed from cover to cover—it’s an investment and a powerful one, if you let it! But it’s not meant to be opened to a random page and read quickly.

When I told my therapist about this book, she was really excited because it’s everything she’s been trying to tell me, in bits and pieces, for years. The good thing about it is that it’s all right here in one convenient book—perfect for people who like to work their way through things slowly, with the ability to flip back.

Everyday Mindfulness is divided into 6 larger sections: Physical; Emotional; Rational; Spiritual; Occupation; and Network. For me, I know I needed to spend more time listening to my body (in a way that wasn’t overly anxious and stressful—Dr. Google is not my friend) and managing my time and energy in my career and relationships. I haven’t quite gotten to sections 5 and 6 quite yet, but I’m really excited for them. Each section has given me a better view of myself and how I can live more mindfully, while also giving me an opportunity to relax, reflect, and de-stress every single day.

If you’re in the market for a book to help with your stress levels, or just living more intentionally, this is my top recommendations. Here are some links you might enjoy as well:

Thanks for reading!

Beauty Review: No Mo Stache Facial Razor*

Beauty Review: No Mo Stache Facial Razor | Writing Between Pauses

Does it feel like it’s been ages since I’ve done a beauty review? It does, because it has been!

For a long time, beauty products were my go-to to feel good. However, I started to get really burnt out. Sometimes, it feels like hobbies are driven by consuming more and more products—beauty gurus have to always have what’s new, trying what’s new, rather than using what they have. It just plain wasn’t sustainable for my life anymore, I just didn’t have room for that many products.

Over the last few years, I’ve been really working to narrow down my skincare routine so it’s easier for me to use and, ultimately, more effective.

One huge piece for me has been, surprise, dermaplaning. You’ve probably seen these videos on TikTok or Instagram, but, per a quick Google, this is the definition of dermaplaning: “Dermaplaning is a skin treatment that uses an exfoliating blade to skim dead skin cells and hair from your face.”

Basically: you use a little facial razor to shave your face. It’s fun to watch, kind of soothing, very ASMR. The benefits are that this can exfoliate your face, as well as help your makeup apply more smoothly. One of my biggest issues is skin texture—and the reality is all of us have skin texture (all beauty gurus use a blurring filter, if not multiple!). But having my make up apply a little more smoothly is a big draw.

I was approached by the brand No Mo-Stache a few weeks ago to try out their compact facial razor. This was a really exciting email to receive, because I’ve seen No Mo-Stache in stores before. Their branding and packaging is so cute. Plus, I’m always down to try something new.

No Mo Stache Facial Razor Affordable Dermaplaning

They sent me their folding facial razor, along with their eyebrow and face waxing strips. Full disclosure: I actually can’t use the waxing strips right now since I use Retinol. I’ll share a great insert they sent along that includes some information about what to do before waxing—if you use Retinol, however, you can’t wax, as it can cause burns and a reaction.

I can use the razor though, and good thing, because I have been looking for a non-scrub, physical exfoliation for a while.

I have very textured skin, probably because I’ve never met a drop of water I liked that much. I know scrubs are bad for your skin, but chemical exfoliation is simply not enough for my skin—it doesn’t do much. Dermaplaning is a great, gentle way to physically exfoliate, plus remove any hair on your face that you don’t want.

No Mo Stache Wax Strips Easy At Home Wax Kit

So how do you dermaplane?

Firstly, you wash your face to remove all make up and built up oil. Dry and apply aloe vera. Then, holding the facial razor at about a 45% angle to your skin, you just…. shave your face.

That’s it. That’s literally it. You’re shaving your face with a tiny straight blade. It’s surprisingly fun! And again: it’s really cathartic to see all that build up being physically removed from your face.

The first time I dermaplaned, my skin felt so smooth afterwards. I did a light second wash with my foaming Cetaphil cleanser, then applied First Aid Beauty’s Repair Cream (I’m working to repair my acid mantle—I don’t want to talk about it). The next day, I put on foundation and was actually surprised at how much of a difference there was. Just much smoother application.

Dermaplaning isn’t a fix to every problem. The hair on your face will grow back, but you don’t want to dermaplane too often. I’ve done it twice now over the course of 4 weeks. It feels really nice, it’s fun, and it’s a simple way to just feel better about your skin.

Tips for Waxing Retinol

Here’s that ”before waxing” checklist I promised! Most importantly, you just want to make sure you test your skin first, don’t have too dry of skin, and aren’t using medications that could cause a reaction with the wax.

No Mo Stache is available from Ulta and Target, but you can also purchase from their website here.

Disclaimer: as denoted by the asterisk (*) in this title, I was sent these items free in exchange for review and posting. However, all opinions remain my own. To learn more about my disclosure policy, click here.

5 Diaper Bag Essentials for New Moms*

5 Diaper Bag Essentials for New Moms | Writing Between Pauses

When I had Forrest, I really did not put a lot of thought into the diaper bag I chose. I remember feeling just a little bit judgmental of the moms who spent hours pouring over what diaper bag to get. I just didn’t get it.

I get it now, I really do.

Diaper bags are a thing of mystery sometimes: they can be cavernous and full of all kinds of debris; or they can be super organized and ready to roll. And both of those can be the same person, depending on the day. I ended up hating the diaper bag I used with Forrest and I told myself if I had a second baby, I would find one I loved.

I was recently approached by Keababies to try out their Explorer Backpack Diaper Bag. It’s a diaper bag that is a backpack shape and, let me tell you, this really is a dream diaper bag. Take it from someone who had a complicated relationship with leaving the house with my baby! Keababies Explorer Backpack Diaper Bag is a perfect diaper bag in my opinion. I thought I’d share my 5 diaper bag essentials, and why, illustrated with this dynamo of a diaper bag!

1. The Perfect Diaper Bag

Keababies Explorer Diaper Bag

I recently got the opportunity to check out the Keababies Explorer Backpack Diaper Bag. It comes in a few different colors, but I picked the classic gray color—it is really cute! That’s really the first thing. I like cute things; I like functional things; it’s great if those two desires can be combined! And they are in this diaper bag.

I love the backpack style because it makes it easy to be on-the-go with babies. The diaper bag I used with Forrest was really bulky and yet, didn’t have enough room for my things as well. The Explorer backpack has plenty of room for all your diaper bag essentials, plus your wallet, cell phone, and keys. My absolute favorite feature is the two straps at the top (you can’t see them in my photo!) that you can use to attach it to your stroller, giving you easy access to everything.

2. The Feeding Basics

Insulated Diaper Bags

I really am a less-is-more kind of girl; I don’t usually carry around a whole lot of stuff. However, when you have a baby, what you need is sort of… a lot at all times. If you’re breastfeeding, it’s a little easier; you just kind of need your boobs.

However, with Forrest, I was pumping and using formula at the same time, so I often needed multiple bottles, even for a short trip. Sometimes it felt like leaving the house was more effort than it was worth! I needed a bottle of breastmilk, plus a bottle of water and packets of formula. However, that’s another great feature of the Explorer Backpack; it is insulated! That means, you can keep your bottles at the temperature you need them. The bottle holder in the front is absolutely perfect; you can carry a bottle for feeding, plus two for pumping if you need it; plus there is room in the same pocket for any accessories you might need, like burp clothes, nipple guards, and more.

3. A Change of Clothes (or 2)

This one is pretty standard: in case of emergency, you need clothes for your little one and maybe yourself. I always kept two changes of clothes in the car for Forrest; not necessarily in our diaper bag, but just available. I also started keeping a change of top for myself in the car—either a plain t-shirt or a sweatshirt depending on the season. This is because when you’re wearing your child, sometimes they will just spit up down your front—so if you have more places to go, you will want to change that top!

To this advice, I suggest buying clothes specifically to keep in your diaper bag or car. Sometimes, I would lose track of Forrest’s clothes for weeks, only to remember I had packed them up as spares. Buying a few plain onesies and a plain pair of sweatpants that you won’t miss is better than packing something you love, only to realize your baby has outgrown it while it’s been in your diaper bag.

4. More Wipes Than You Think You’ll Need

You will see the cute packs of wipes with decorative covers. My sister-in-law gave me the cutest reusable wipes cover. However: it was far too small for any packs of wipes. Besides, you will always need more wipes than you think you need. If you think you’re running low on wipes, you’re already too far gone, you need to buy wipes immediately. The time between “oh, we’re kind of low on wipes” and “I guess I’m rinsing my baby’s butt in the sink” is razor thin. My advice: pack more wipes than you think you will ever humanly need. Two big Costco packs, if you can: one in the diaper bag and a spare in the car. Maybe 2 spares in the car.

Another great feature of the Explorer Backpack: a really roomy main storage compartment. Perfect for those big blocks of wipes and diapers. (For diapers, I recommend having 5-6 with you at all times, depending on the age of your baby! Make sure to double check sizes frequently.) Wipes are good for everything, not just booties: runny noses, sticky hands, spilled milk, spit up, everything. You need lots of wipes.

5. A Changing Pad

Diaper Backpack with Changing Pad Included

Let me tell you: having a changing pad (aka a really small, compact pad that you can fold out to put under your baby while you change their diaper) is one of the best things I can suggest to new parents. In all likelihood, you aren’t ever going to be able to use changing tables in public spaces—most of the time, they are nasty. They’re also super rickety—I never felt comfortable putting Forrest on one, afraid he would roll off.

The best part about the Explorer Diaper Backpack is that in the back pocket, there is a large, fold out changing pad—perfect for those on-the-go changes in bathrooms, the back of your car, airports, wherever. You can easily wipe it clean and put it back. I would estimate the size as about a foot by a foot and a half, which doesn’t sound big, but is; it’s also really padded, which means it’s much more comfortable for your baby.


I hope this helps you get that diaper bag organized for your baby, or soon-to-be baby! I have missed writing about baby stuff and even though I’m not expecting myself (I am the 1%, it feels like!), a ton of my friends are. If you’d like to try the Keababies Explorer Backpack yourself, I highly recommend it; you can use my code pauses2021 at check out.

Disclaimer: as indicated by the asterisk (*) in the title, this blog post is written using a sponsored product. I received the Explorer backpack free in exchange for review. Posts like this help me keep the lights on! As well, links throughout this post are affiliate links and by using them or my code, I will receive a small kickback from Keababies. Posts like this help me keep Writing Between Pauses running! If you’d like to learn more about my disclosure and advertising policy, click here.

3 Lifestyle Changes That Aren't About Weight Loss

3 Lifestyle Changes That Aren't About Weight Loss | Writing Between Pauses

I don’t know about you, but in 2020, working out wasn’t exactly on my radar. In the midst of so much turmoil, and with gym closures, it was just more hassle than anything else. I had a child home from school from March through June, I was running my own business for the first time in my life (more on this later), and I was just working to make sure that everyone in my life was safe. The most working out I did was going on roughly weekly long walks with Forrest. These were a soothing way for us to spend some time together and it allowed Forrest to get all his energy out (especially since I didn’t have 3 hours for him to go to school and play with other kids anymore).

It goes without saying: not working out for a year had a huge impact on my life. Not so much on my body, although I’ve definitely noticed more aches and pains in the last year (that might be because I’m 32, though).

There was a time where I worked out every single day, where I looked forward to it. After I had Forrest, that number shifted from every day to 3 times a week and I’d take him walking in his stroller frequently. The older he got, the less time it felt like I had—plus, I couldn’t just pop him into the stroller with a snack anymore.

When 2020 started, I remember feeling a surge of guilt about my gym membership: I still had it, but I wasn’t using it. After I got laid off, I just didn’t feel like I had the time for it. I was working all the time and burnt out at the end of the day. Plus, as Forrest got older, he stayed up later and bedtimes somehow became more difficult. There were a lot of things happening.

This is all to say: working out hasn’t been on my radar for the last year or more. But all those aches and pains I’ve been feeling have made me think about it more and more as well. Plus, I’ve been doing the (challenging, difficult, strenuous) work of removing the link between “working out” and “losing weight” in my own mind. (I encourage you, as well, to take on this work, although, as I said, it’s really, really hard.) That meant not working out. That meant looking at my life and how I think about my body differently. All good things. Powerful things. Things I needed to do.

On January 1, 2021, for the first time in my life, I did not set a goal about my body. Instead, I wrote about my anti-resolutions and how one of mine this year is to not try to change my body—but rather to work with it, to treat it with respect and kindness. For me, this is a huge moment and I want to hold space for myself to feel however I need to feel about it.

When we talk about wellness, and diet culture, and health, we often hear the phrase: “lifestyle change.” Lifestyle change has, like wellness, become a codeword for weight loss. In that way, I don’t love the term “lifestyle change”—but I think there is potential for us to rethink what lifestyle changes are and can be, how we can use them in our lives. When the New Year comes around, we all have this desire to try to make the best of our lives—and how else can we describe that other than… a lifestyle change?

Without further ado, here are 3 lifestyle changes to consider for 2021 that have nothing to do with weight loss and everything to do with honoring yourself. All of these lifestyle changes have to do with improving your life in ways that are meaningful to you and prioritizing your mental health.

1. Incorporating activity into your day

The thing about working out that I’ve learned over my life is this: if you don’t enjoy it, you will get nothing out of it. So when I say, “incorporate activity into your day,” I mean doing something you like. Do you enjoy yoga? Then do yoga. Do you like going for walks? Go for a walk! I used to force myself to do cardio and lift weights every single day and while I looked forward to it, I also hated it—and I don’t think, at the age of 32, I’ll ever be able to force myself to sweat out 45+ minutes of cardio ever again. I simply don’t have the patience.

What I can do is bike for 30 minutes a day. Or use my standing desk throughout the day. Or go for a hike on the weekends. There is so much activity that I do enjoy and I no longer wish to participate in the parts I don’t like.

By incorporating activity into your day in a way you enjoy, you get all the positive aspects of working out without any of the kind of ucky ones. That being said: if you aren’t at a point in your life where working out works for you, or you don’t have the energy, or it is too triggering, there are so many ways to be “active.” Taking an evening walk. Cleaning your kitchen. Dancing to your favorite song. These are low stress ways to honor your body without being too intense.

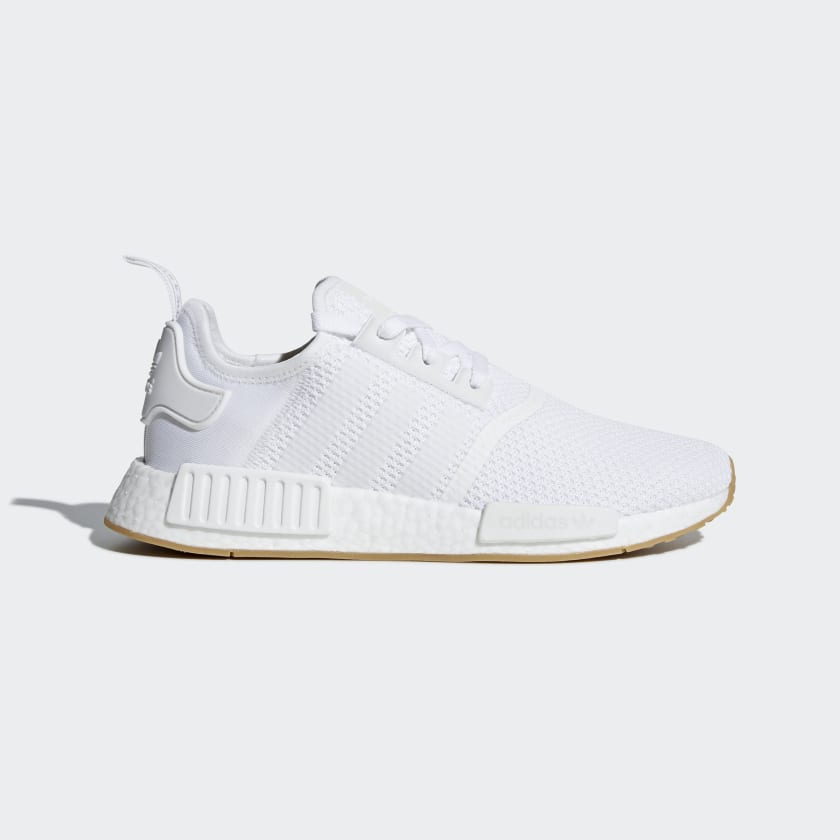
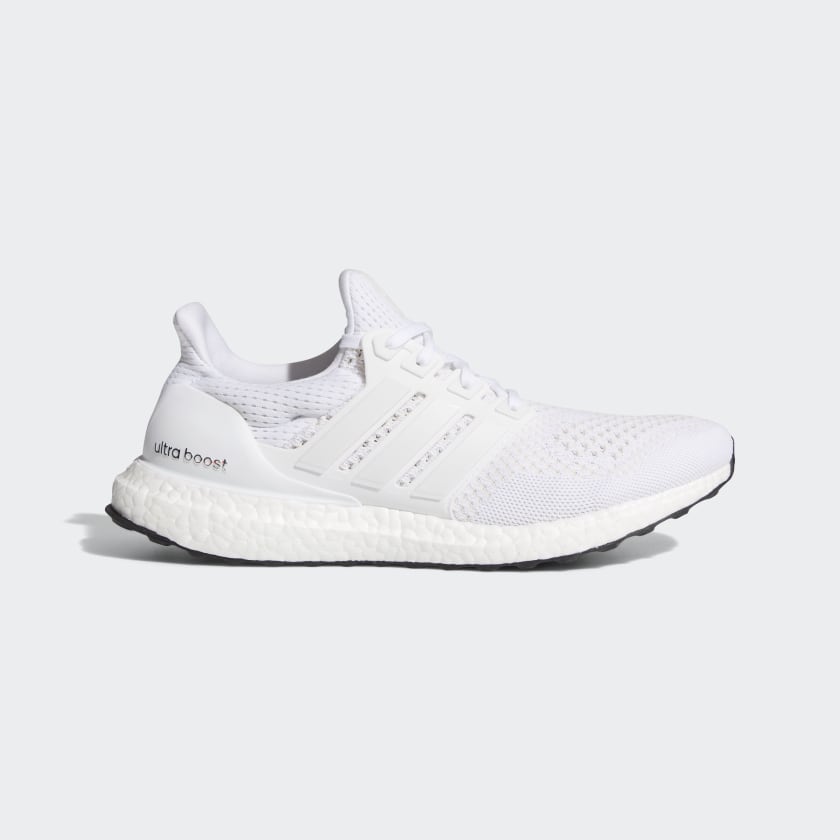
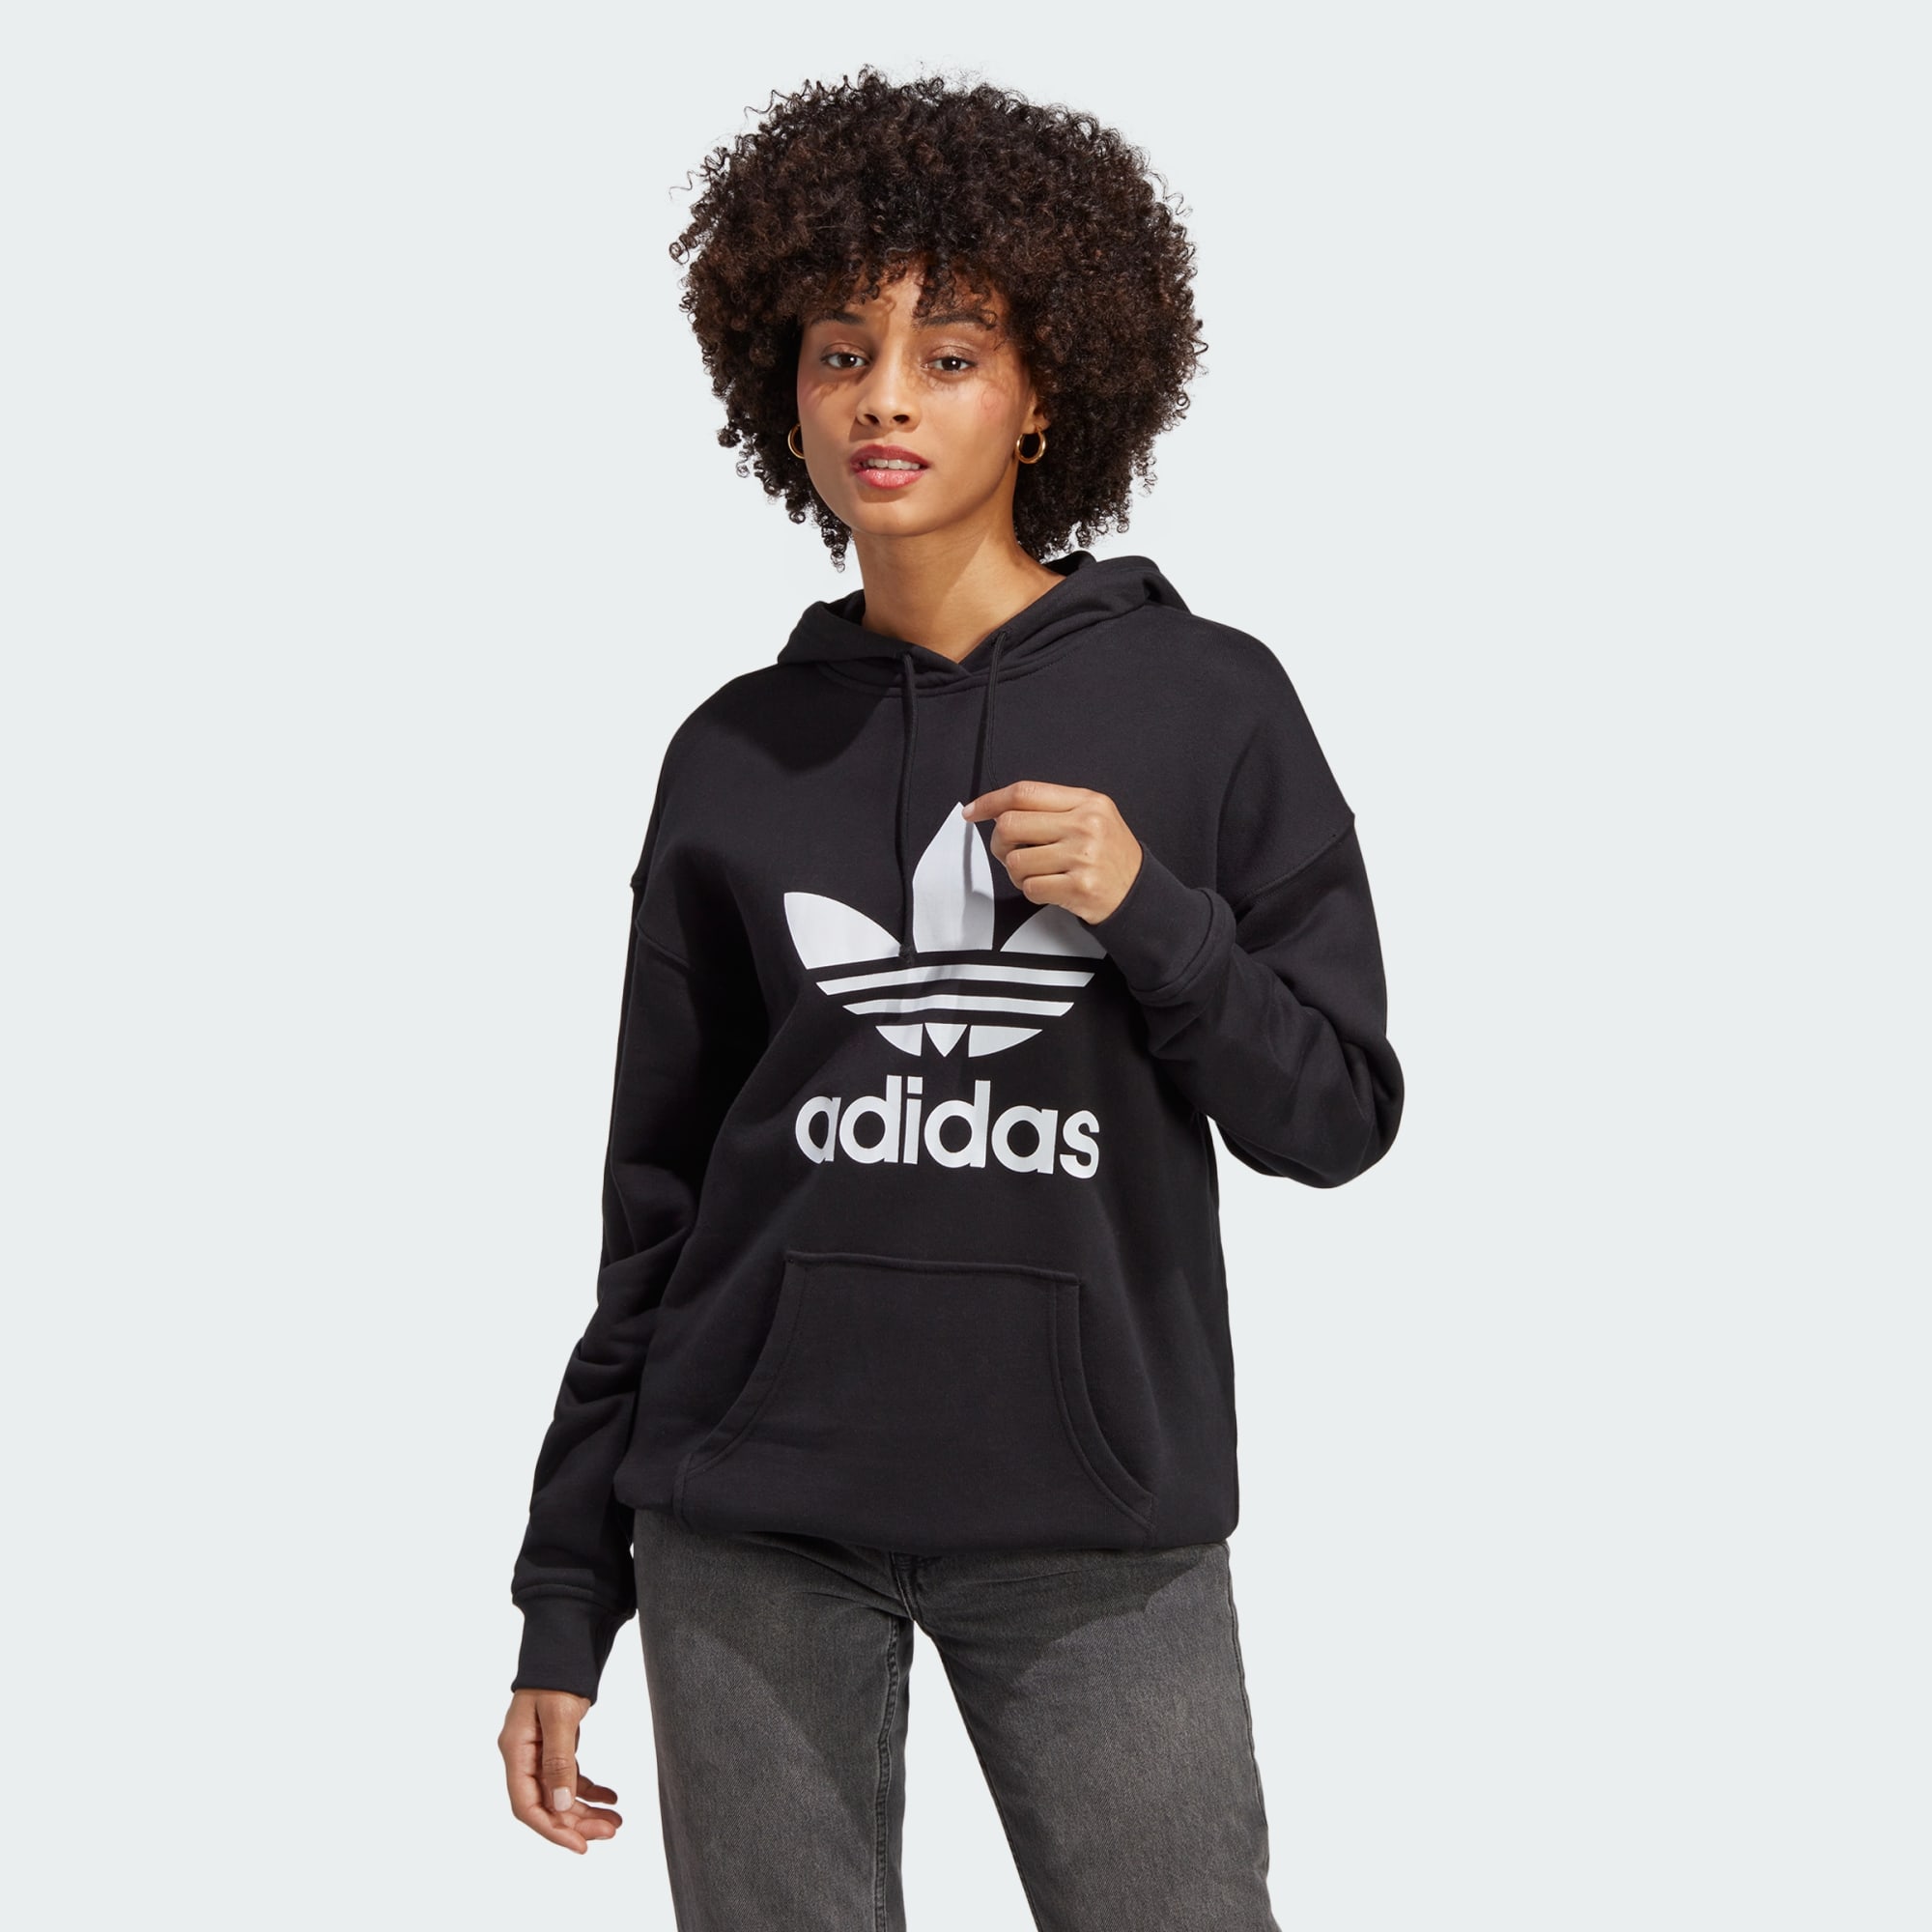
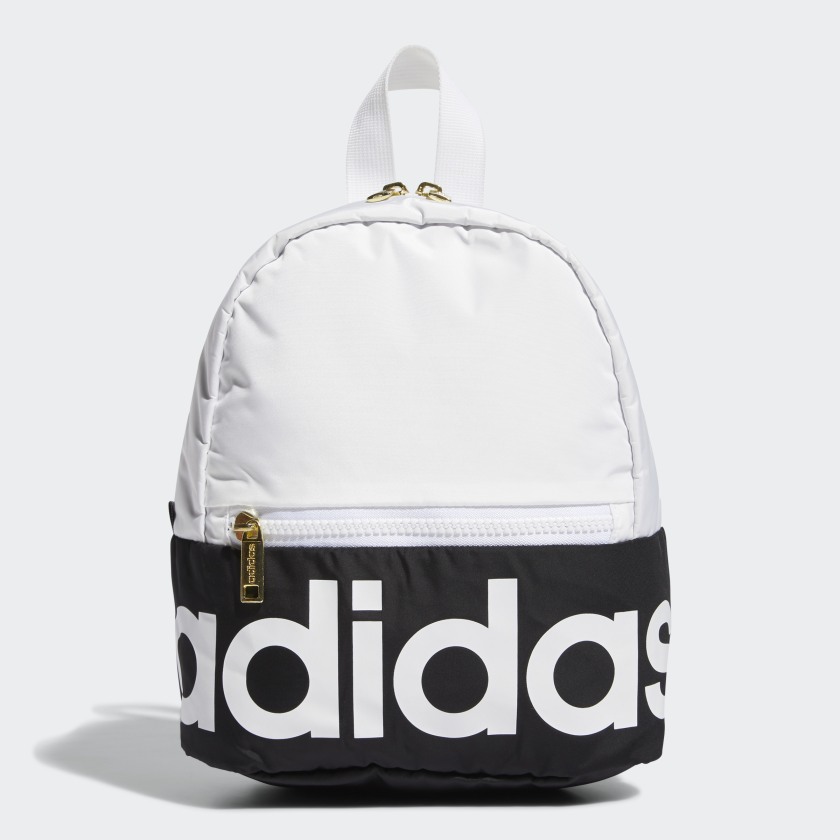
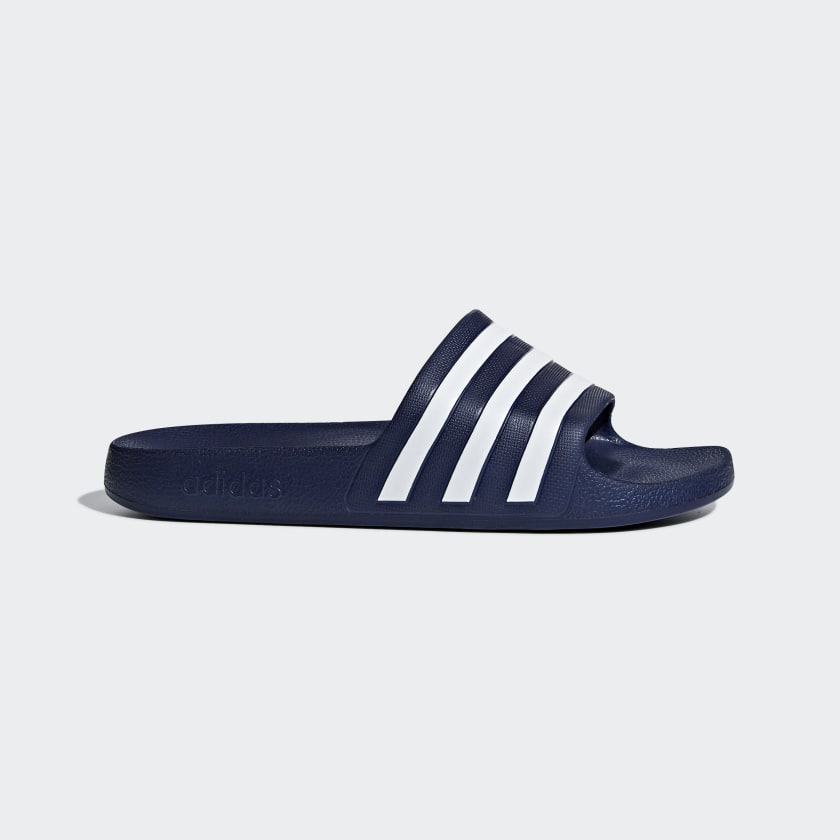
On this note, I firmly believe in treating yourself. If incorporating activity you love into your day is something you’re interested in, then I have a few recommendations for gear. I’m a huge fan of leggings and sweatshirts (It’s what I wear… every day?) Here are a few favorites from Adidas.


2. Adding journaling to your day

Listen, I love journaling. I will never stop writing about journaling, talking about journaling, and encouraging others to journal. Journaling in a way that makes sense for you—whatever that means for you—is something I’m so passionate about.

Here’s why: I think journaling is a great way to self-reflect, to reduce your own stress, to show gratitude not just to yourself but to others and your body and your world. Journaling is so many things. You can read all of my blog posts about journaling here.

I know many maybe wouldn’t consider journaling to be a lifestyle change—but I think by making time for yourself, even just 10-30 minutes in the evening, can be a huge lifestyle shift for lots of people. By taking that time to yourself, to journal in a way that is comfortable for you, you are changing the future of your life: you’re telling yourself that you’re allowed to take up space, to take up time, to prioritize your mental health and well-being. And that’s incredible.

If you’ve ever wanted to add journaling to your life, but just haven’t taken the plunge, I think there are tons of ways to do this. Here are a few ideas:

  • Using a paper-and-pen journal that you keep at your desk. Every morning, you can use one page for your to do list and one side for your journal. Don’t think of journaling as “I’m going to write out my whole day”—but rather, I’m going to reflect on my day or the previous day. You can write a whole page or a paragraph or however much you feel like.

  • Use a Google Doc.

  • Use your Notes app.

  • Use a day planner and just fill in that day’s square.

  • Text yourself.

  • Email yourself.

Like I said: there are tons of ways to journal that aren’t just sitting down to write in a journal, like a Dear Diary scene in a movie! You can use a Passion Planner to memory keep, a day planner, your Google calendar—so many options! These are just a few. If you want to start with journal prompts, well, I obviously have a ton of those as well.

3. Working on a daily schedule

There were some days between March and July that were just… whatever. Whatever worked! Candy for breakfast, bread for lunch, something low energy for dinner, the TV on at 7am and not turned off until 7pm, watching movies in bed with popcorn. Whatever. It was survival.

But I don’t thrive in that kind of life and neither does Forrest. Since September, we’ve been working to get back to a daily schedule—not the same thing everyday, but at least something where he (and I!) know what to expect out of each day. This is the day we go to school, or this is the day we go get groceries, or this is the day we go for a long walk.

This is a massive change to your lifestyle. If you’re struggling with burn out, with a lack of self-care, with feeling like you have no control over your life, I can’t recommend working on a daily schedule enough. It gives your day structure.

I feel like this is something a lot of moms learn pretty fast. After you have your baby and you have this very fragile, squishy newborn in your house, you can quickly get overwhelmed and the parts of your life that used to be so sure just… fall away. It’s harder to just run to the store; it’s harder to make breakfast, and morning coffee; it’s harder to get out the door to work; it’s harder to find purpose in each day when you feel totally overwhelmed. Trust me when I say: a schedule helps. It helps so much.

I have a whole series of posts about establishing a daily routine or schedule. These will help you determine what you want in your day, how to get started (the truth is: you just start!), and a few other things to consider.

10 Journal Prompts for 2021

10 Journal Prompts for 2021 | Writing Between Pauses

I love journal prompts. I’ve written a few lists of my own journal prompts, as well as writing prompts (which you can use as journaling prompts, natch). I’ve also reviewed, and praised, the 52 Lists books by Moorea Seal more times that I can count.

For 2021, I wanted to start the year on a positive foot—with a focus on self-reflection, not changing myself based on fear, and keeping my self-care routine top of mind. For me, that comes down to journaling.

I wanted to share 10 of the journal prompts I’ve been following this year to help me narrow in my focus for 2021. I hope these journal prompts help you relax, help you think, and help you think of ways you can keep 2021 positive, no matter what happens.

10 Journal Prompts for 2021

  1. How did you feel about your home in 2020?

  2. What feelings do you feel when you think about home?

  3. How was I present in 2020?

  4. How was my work in 2020?

  5. When I focus on work, how do I feel?

  6. What were my biggest struggles in 2020? What can I learn from these?

  7. How did you take care of your body this year?

  8. What is one way you can think your body this year?

  9. How did you nurture yourself this year?

  10. What resources helped you thrive most in 2020?

I hope you find these helpful! Let me know if you use them in your journal.